So, you've got a new leather holster, and it's feeling a bit… snug, right? Maybe your firearm is a little tough to draw smoothly, or it just doesn't feel quite "at home" yet. Totally normal!
Breaking in a leather holster is kind of like breaking in a new pair of boots, it takes a little patience and the right approach. We want it to be secure, but we also need to be able to access our firearm quickly and safely when needed.
Think of it this way: we're not trying to force anything. We're guiding the leather to mold perfectly to your specific firearm and to your body. It's all about achieving that sweet spot between a secure hold and a fluid draw.
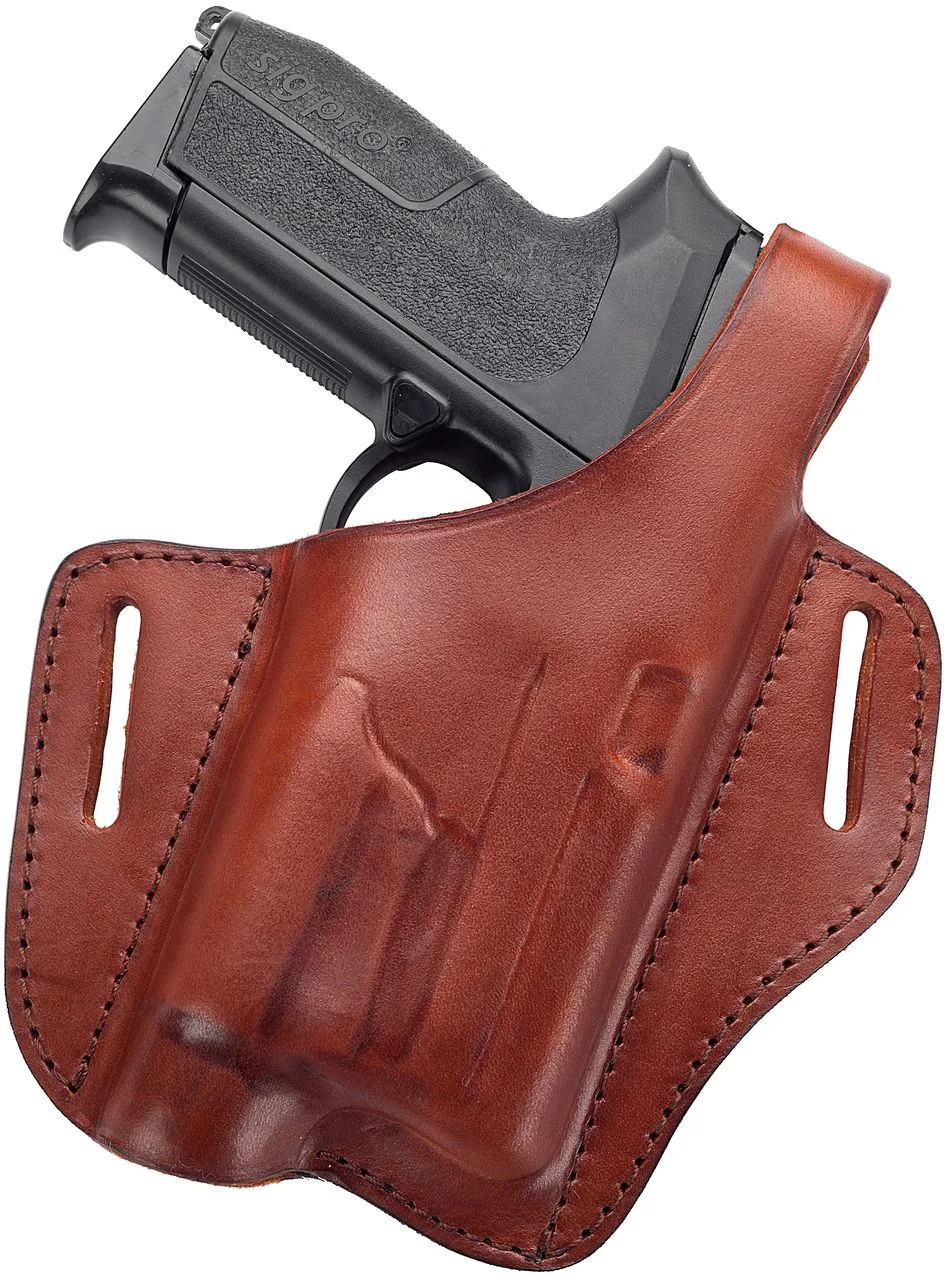
Image source: Web (Bing) / craftholsters.com (Web image (fair-use with source credit))
Quick Answer
Breaking in a leather holster involves gently encouraging the leather to conform to your firearm. Start by leaving your firearm in the holster for extended periods, then practice smooth draws. If it remains too tight, use controlled moisture and pressure to mold the leather.
Always avoid forcing, excessive heat, or over-saturation, as these can damage the holster.
Why Your New Leather Holster Needs Breaking In
A good leather holster is an investment designed to mold to your specific firearm, offering superior retention and comfort over time. However, right out of the packaging, that perfect, secure fit might not be there yet. This initial tightness can manifest in a few frustrating ways.
- Difficulty Drawing: If the holster is too tight, you might struggle to draw your firearm smoothly and quickly. This is a significant safety concern when immediate access is critical.
- Inadequate Retention: Conversely, a holster that feels loose might not hold your firearm securely enough, which can be just as dangerous.
- Discomfort: Even if retention is adequate, an un-broken-in holster can pinch, rub, or feel generally awkward, making comfortable, all-day carry a challenge.
The goal is to achieve a holster that feels like an extension of you, ready when needed, and secure the rest of the time.
The Gentle Approach: Time and Your Firearm
This is the foundational method for breaking in any new leather holster. It relies on the natural properties of the leather and the specific contours of your firearm to create a custom fit. It's the safest, most reliable starting point, and often, all that's needed.
Inserting and Leaving Your Firearm In
The absolute best way to break in a holster is to simply leave your firearm in it for extended periods. The leather will naturally relax and conform to the exact shape of your weapon over time, much like breaking in a new pair of shoes.
- Overnight: When you get home, insert your firearm into the holster and leave it there overnight.
- Desk Duty: If you work at a desk, place the holster with your firearm inside on your desk.
- Nightstand Duty: Keep it on your nightstand with the firearm secured inside overnight.
This method requires no special tools and minimizes any risk of damaging the holster or your firearm.
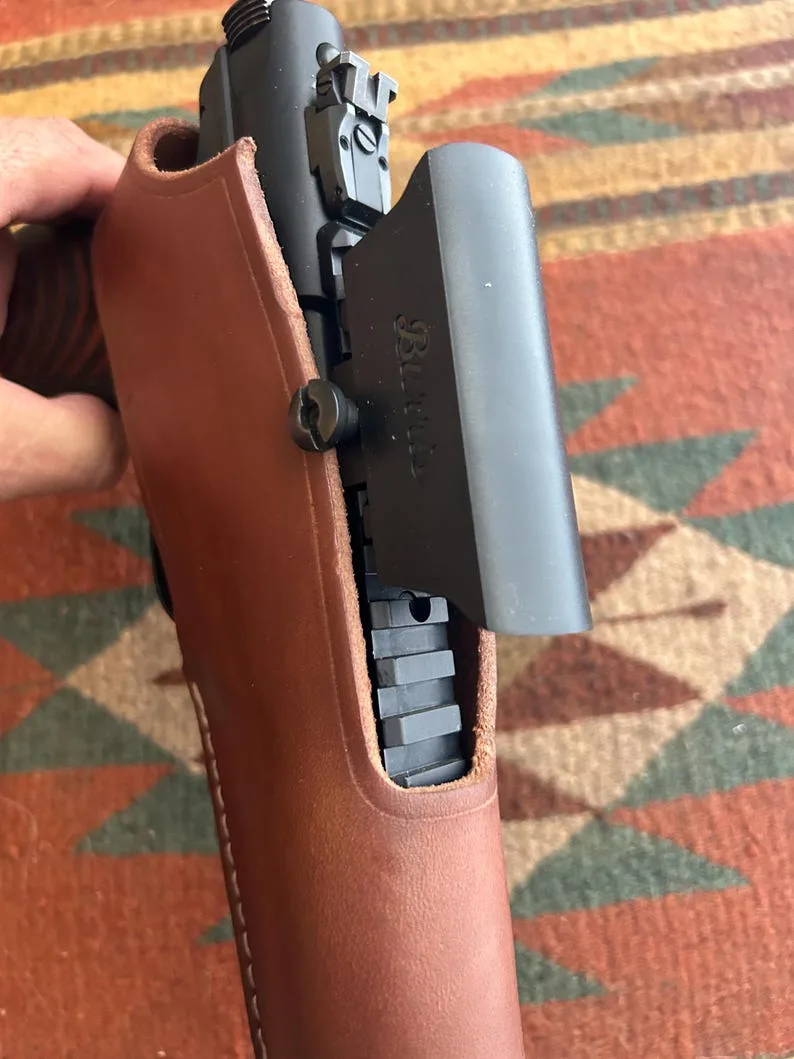
Image source: Web (Bing) / etsy.com (Web image (fair-use with source credit))
Practicing Your Draw (Gently)
In conjunction with leaving your firearm in the holster, practicing your draw a few times a day can help accelerate the process. Focus on smoothness rather than speed initially.
- Feel the Resistance: As you draw, notice where the firearm feels tightest. Don't yank; try to feel the leather yielding.
- Smooth Re-holstering: Ensure the firearm slides back into the holster without excessive force, especially after you've practiced the draw.
This consistent, gentle interaction helps the leather adapt to the firearm's movement.
When More Persuasion is Needed
If after a few days of the gentle approach, your holster still feels significantly too tight for a safe and efficient draw, you can introduce a bit more targeted pressure. These methods involve very minor adjustments to encourage the leather's flexibility without risking damage.
The Sweat Guard Push
If the tightness is concentrated near the sweat guard, the part of the holster that sits between your body and the firearm, you can gently work that area. With the firearm out of the holster, use your thumb or finger to apply steady, inward pressure on the inside of the sweat guard. Hold this pressure for about 30 seconds.
Repeat this process a few times along the sweat guard's length. This helps the leather to slightly relax and conform around that specific contour.
Gently Bending the Opening
Sometimes, the holster's opening itself can feel stiff, making insertion and withdrawal difficult. With the firearm removed, grasp the top edges of the holster opening. Gently flex the opening outwards, just a little, as if you're trying to widen it slightly.
Be very conservative here; the goal is a subtle encouragement of flexibility, not forcing the holster into a new shape. Overdoing this could compromise the stitching or the structural integrity of the holster opening.
The Molding Method for a Custom Fit
For holsters that are exceptionally tight or if you need a very precise fit, the "molding" method offers a more active way to shape the leather. This technique uses controlled moisture and pressure to create a superior, gun-specific fit. It's important to follow these steps carefully to protect your firearm and ensure the best results.
Preparing Your Firearm (Plastic Wrap & Bag)
To protect your actual firearm from moisture and oils, you'll need to wrap it thoroughly. Use a few layers of plastic wrap (like Saran Wrap), ensuring it's smooth and wrinkle-free. Then, place the wrapped firearm into a sturdy plastic bag, like a Ziploc, sealing it almost completely but leaving a small opening to allow air to escape.
This bagged firearm will serve as your mold.
Image source: Web (Bing) / amazon.com (Web image (fair-use with source credit))
Molding the Leather
Carefully insert the bagged, molded firearm into the leather holster. It should slide in more easily due to the protective bag. Once inserted, use your fingers to firmly press the leather all around the shape of the bagged firearm.
Pay attention to any areas that feel particularly tight and push the leather into those contours. Leave the firearm in the holster in this molded state for at least 24 to 48 hours. This extended contact time allows the leather to permanently take on the shape.
Airing Out and Testing
After the molding period, carefully remove the bagged firearm. You'll need to let the holster air out completely. Place it in a well-ventilated area, away from direct sunlight or heat sources, for another 24 to 48 hours.
This allows any residual moisture to dissipate, preventing potential issues with the leather. Once aired out, re-insert your unwrapped firearm. It should now feel significantly smoother and more comfortable to draw and re-holster.
Critical Mistakes to Avoid When Breaking In
Successfully breaking in a leather holster relies on patience and the right techniques. Conversely, a few common mistakes can easily damage your holster, rendering it useless or even unsafe. Understanding these pitfalls is as crucial as knowing the correct methods.
What NOT to Do
- Forcing the Firearm: Never jam your firearm into a holster that's too tight. This can damage the holster's material and stitching and potentially scratch your firearm's finish. Aggressive force is counterproductive and risky.
- Using Excessive Heat: Avoid using hairdryers, ovens, or leaving the holster in direct, intense sunlight. Heat can dry out, warp, and crack leather, permanently compromising its structure and flexibility.
- Over-Saturating the Leather: If using moisture as part of the molding process, use it sparingly. Soaking the leather can weaken it, lead to mold growth, or negatively affect its ability to hold its shape.
- Improper Lubrication: Unless the holster manufacturer specifically recommends a particular oil or conditioner for breaking in, avoid using general leather care products. Some oils can degrade holster leather or alter retention properties in undesirable ways.
- Rushing the Process: Leather needs time to adapt. Trying to speed up breaking in by using harsh methods will almost always result in a damaged holster. Patience is key for a long-lasting, well-fitting holster.
Testing Your Holster's Fit and Retention
After you’ve gone through the breaking-in process, it’s time to test how well your leather holster now fits your firearm. This isn't just about feel; it's about ensuring dependable security and quick access. A properly broken-in holster should offer a noticeable improvement in both how smoothly your firearm draws and how securely it stays put when not in use.
Draw, Re-holster, and Carry Tests
Perform a series of draws and re-holsters. The firearm should slide smoothly into the holster with minimal effort and seat firmly. The draw should feel consistent, without catching or binding.
For retention, invert the holster with the firearm inside and give it a gentle shake; the firearm should remain seated securely. While some strap designs might allow slight movement during extreme maneuvers, a good break-in means the gun shouldn't just fall out. Finally, wear the holster with your firearm for a full day to assess overall comfort and confirm it stays in place during normal daily activities.
Frequently Asked Questions About Breaking In Leather Holsters
How long does it typically take to break in a leather holster?
In our research, most leather holsters achieve an optimal fit within 1 to 2 weeks of regular use and overnight storage with the firearm inserted. More aggressive molding methods can achieve a custom fit within 48 hours, followed by an airing-out period.
Can I use heat to speed up the break-in process?
No, using excessive heat like hairdryers or ovens is strongly discouraged. Manufacturer specifications indicate that high heat can dry out, warp, or crack leather, permanently damaging its structural integrity and making it unsafe for carrying a firearm.
What should I do if my holster is still too tight after trying these methods?
If your holster remains uncomfortably tight after following these steps, it may be that the holster is not correctly sized for your specific firearm model. Verified buyer feedback reports that sometimes minor adjustments to the firearm's fit can be achieved, but a significant mismatch might require a different holster.
How often should I re-condition my leather holster?
Leather holsters generally benefit from conditioning every 6-12 months, depending on climate and usage. Over-conditioning can also be detrimental, so follow manufacturer guidelines. This helps maintain the leather's flexibility and durability without affecting retention.
Is it safe to use my actual firearm for breaking in the holster?
Yes, using your actual firearm is the most effective way to mold a holster. However, it’s crucial to protect your firearm during the molding process if moisture is involved. Always use plastic wrap and a sealed bag as described in the molding method to prevent any moisture or oils from reaching the firearm's finish.
Your Final Decision Guide: When Is It Ready?
Your leather holster is considered successfully broken in when it meets several key criteria. The firearm should insert and draw smoothly with consistent, moderate resistance. It should hold the firearm securely enough that it doesn't shift or fall out during normal movement, passing a gentle retention test.
Most importantly, the holster should feel comfortable against your body, allowing for extended wear without pinching or excessive pressure points. If your holster meets these marks, it's ready for reliable duty.