How do I remove a rifle scope without ruining it? The process itself is simple. You loosen a few screws, lift the optic off, and you're done.
The real challenge comes afterward, during reinstallation.
Per manufacturer specs from brands like Leupold and Vortex, scope ring screws should sit between 15 and 20 in-lbs for aluminum tubes. That number matters more than most people think. The trouble starts before you even touch a screw.
Let's break down why this common job goes sideways for so many shooters.
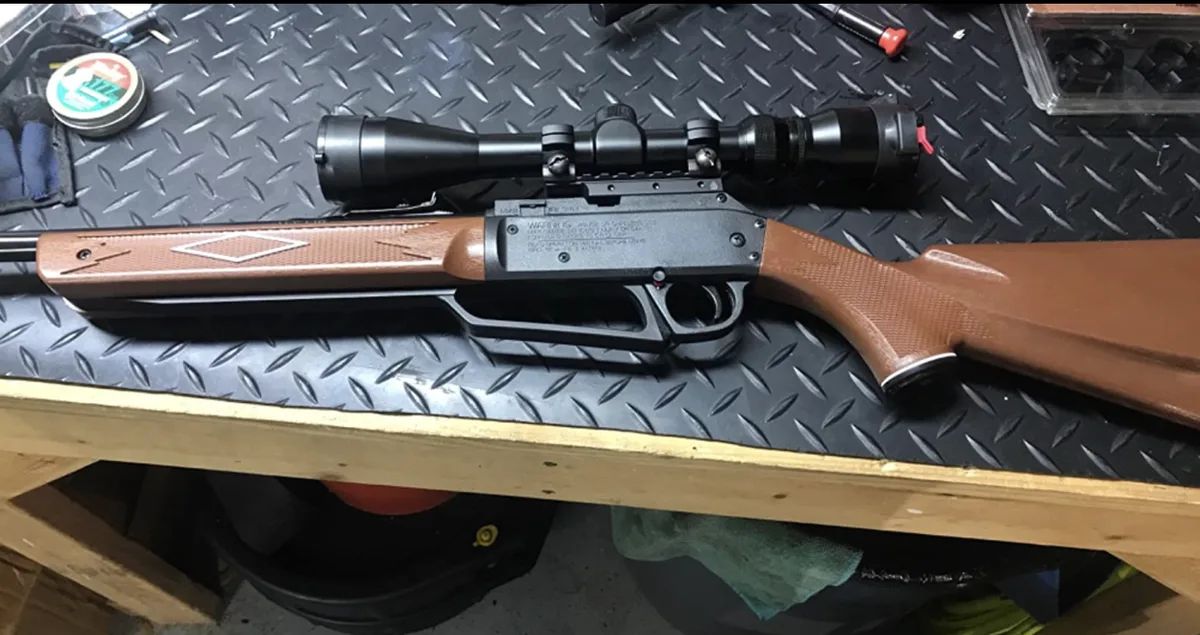
Image source: Bing (Web (fair-use with source credit))
Quick Answer
How do I remove a rifle scope? Start by clearing the firearm. Identify your mount type before touching any screws.
Loosen ring screws evenly in alternating quarter-turns and lift the scope out gently. Clean all surfaces, reinstall to proper torque specs, then re-zero the rifle.
Why Scope Removal Goes Wrong More Often Than You'd Think
Most scope removal jobs aren't complicated. You loosen the screws, lift the scope off, done. So why do so many end with a scratched tube or a rifle that won't hit a target anymore?
The biggest culprit is torque. Over-tightened ring screws can permanently crush an aluminum scope tube, wrecking the internal optics underneath. Under-tightened screws let the scope shift under recoil, and your zero disappears completely.
Manufacturer specs confirm the damage usually happens during reinstallation, not removal. Brands like Leupold and Vortex Optics publish specific torque values for ring and base screws. Skipping those specs is how you end up back at the gunsmith, paying for a fix that a torque wrench would have prevented.
One more failure point worth mentioning. Aggregate feedback from shooters consistently reports cross-threaded mounting screws. When a ring screw doesn't line up perfectly and you force it, the threads strip.
Once that happens, you're replacing the base or the ring, not just the screw.
The good news is that if you follow the right process, removal is straightforward. You need to know your mount type, grab the right tools, and take your time.
Clear Your Firearm and Prep Your Workspace
Before any scope work, treat this like any other firearm handling job. Safety comes first.
Here's the basic process:
- Remove the magazine entirely.
- Open the bolt and visually inspect the chamber to confirm it's empty.
- Point the muzzle in a safe direction throughout the job.
- Set the rifle on a stable rest or gun vise.
A gun vise is worth every dollar. It frees up both hands for wrench work and keeps the rifle still. Without one, you're trying to hold the rifle steady while applying torque to small screws.
That's a recipe for scratched surfaces and stripped fasteners.
Your workspace should also be clean and well-lit. A dark garage with a single overhead light is where you drop a screw into the floorboards and never find it again.
You'll want these tools laid out before you begin:
- Torx driver set (most scope mounts use Torx heads)
- Torque wrench with a 10 to 100 in-lbs range
- Clean microfiber cloth
- Small parts tray for loose screws
- Thread locker, if your plan includes reinstallation
Fumbling for tools with a loose scope in your hands is exactly how damage happens.
Identify Your Scope Mount Type Before You Start
Not all scope mounts come off the same way. Match your setup to the right method below.
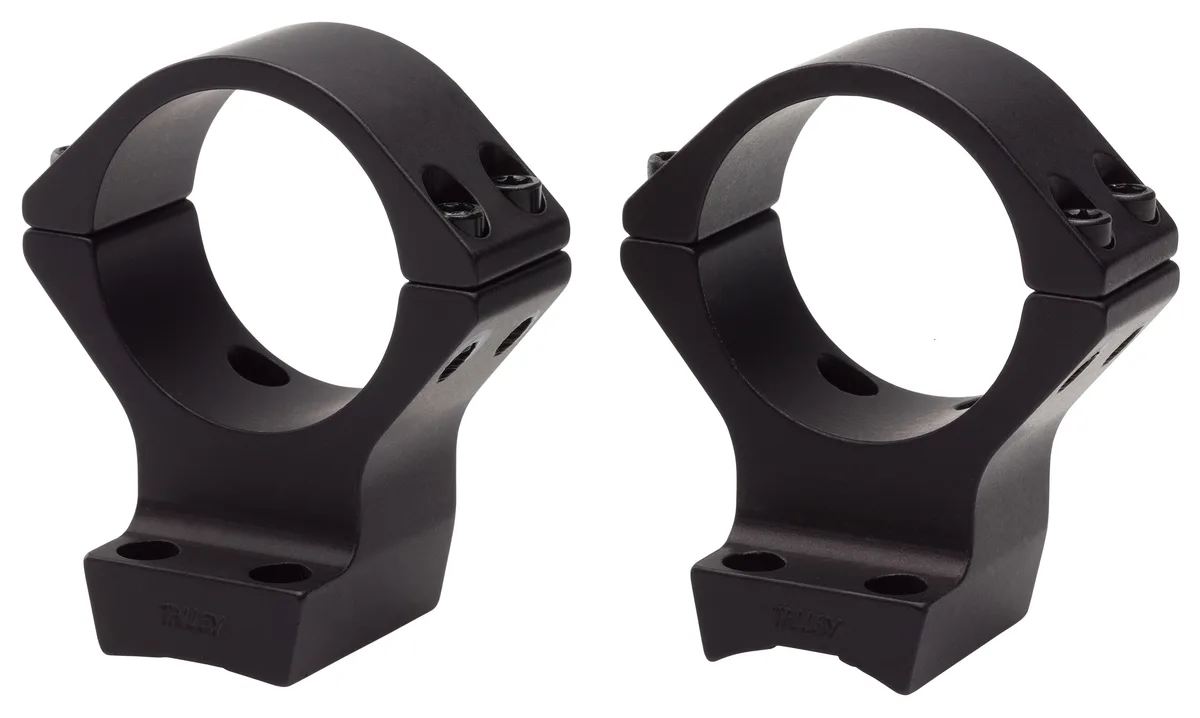
Image source: Bing (Web (fair-use with source credit))
| Mount Type | How It Attaches | Removal Difficulty |
|---|---|---|
| Ring-and-base (two-piece) | Screws into the rail through a base plate | Easy |
| One-piece cantilever | Single unit bolts directly to the rail | Moderate |
| Quick-detach (QD) | Lever-lock clamps attach to the rail | Easy |
Ring-and-base mounts are the most common setup on hunting rifles. You remove four base screws and two sets of ring screws. One-piece cantilever mounts, common on AR-platform rifles, use a single unit that bolts to the rail with more torque.
QD mounts use a lever-lock system on both sides. If you've got one, removal takes seconds. The trade-off is that re-zeroing is less predictable after each reinstallation.
Check your screw heads before you start. Torx heads are standard as of 2026 across most major brands. Hex heads show up on older models.
If you're dealing with stripped or rounded screws, stop and grab the right bit instead of forcing it.
You can usually identify your mount type by looking at how the scope contacts the rifle. If you see two separate halves clamped around the tube with a base underneath, you've got ring-and-base. If there's a single metal piece bridging from the rail up to the scope tube, that's a cantilever mount.
A mount with visible levers on either side is a QD system.
Removing a Rifle Scope Step by Step
The core process is the same regardless of mount type. The details change slightly between setups. Here's the full sequence.
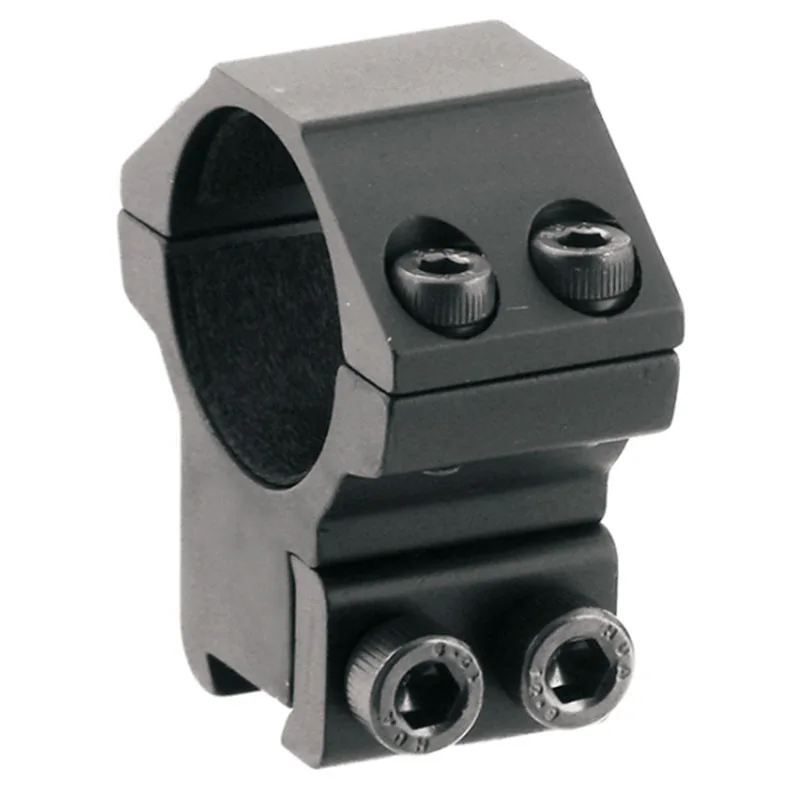
Image source: Web (Bing) / 4shooters.com (Web image (fair-use with source credit))
Ring-and-Base Mounts
- Set the rifle in a gun vise or stable rest.
- Use a Torx driver to loosen the ring top screws. Alternate quarter-turns between screws.
- Once both ring tops are off, lift the scope straight up.
- Remove the base screws from the rail if you're detaching the mount entirely.
- Clean all surfaces with a microfiber cloth before reinstallation.
One-Piece Cantilever Mounts
- Remove the cantilever's mounting screws from the rail. Apply even pressure to each screw.
- Lift the entire unit, scope included, straight off the rail.
- Separate the scope from the mount afterward if needed.
Quick-Detach Mounts
- Disengage the lever locks on both sides of the mount.
- Lift the scope and mount as one unit.
- Store the mount separately if you're not reinstalling right away.
In every case, don't force anything. If a screw won't budge, check for thread locker underneath. A little heat from a hair dryer on the low setting can break the bond without damaging the scope tube.
The most common mistake during reinstallation is over-tightening ring screws. Always use a torque wrench and follow the manufacturer's specification for your specific scope tube material. Aluminum tubes are softer than steel and damage more easily.
Thread Locker, Torque Specs, and Re-Zeroing After Removal
Getting the scope off is only half the job. What happens during reinstallation matters just as much.
If your original installation used thread locker, removal takes extra steps. Blue thread locker (Loctite 242) is removable with standard hand tools. It's the go-to choice for scope ring screws.
Red thread locker (Loctite 271) is permanent and requires heat to break down. Removing red-locked screws means using a soldering iron or heat gun around 450°F.
Here's what major manufacturers recommend for reinstallation torque:
| Screw Type | Torque Spec (in-lbs) |
|---|---|
| Ring screws, aluminum tube | 15 to 20 |
| Ring screws, steel tube | 18 to 25 |
| Base and mount screws | 25 to 45 |
Always use a torque wrench. Hand-tight is not the same as spec-tight, and the difference matters under recoil.
After reinstallation, re-zero the rifle. Start at 100 yards, fire a few rounds, and adjust windage and elevation as needed. Expect some zero shift on the first shot.
Most shooters need two or three rounds to confirm.
If you're swapping to a QD mount, expect 1 to 3 MOA of shift between removal and reinstallation. Verify your zero before hunting season. A scope that's off by even 2 MOA will cost you a clean shot at 200 yards.
Expert Tips for Protecting Your Scope Tube and Getting Zero Back
The scope tube is the most vulnerable part of the whole job. Scratches are cosmetic. Internal damage is permanent.
Here's how to keep yours intact.
Protect the tube before the ring screws even come off. Slide a strip of painter's tape around the tube at each ring contact point. This stops bare metal from scraping the finish when you lift the scope.
Verified buyer feedback consistently reports that this simple step saves hundreds in repair or replacement costs.
Clean the rail surface after every removal. Old thread locker residue, dust, and grit build up fast. A quick wipe with a solvent-dampened cloth gives you a clean mating surface for reinstallation.
Skipping this step is how a scope shifts a full MOA under recoil.
When it comes to getting zero back, patience matters more than speed. After reinstallation, fire a three-round group at 100 yards before adjusting anything. Most mounts settle after the first shot or two.
Adjusting early wastes rounds and confuses your results.
If your zero has shifted more than 3 MOA, something is loose. Check every screw against the manufacturer torque spec before blaming the mount. A scope that won't hold zero after torquing to spec usually has a ring spacing problem.
Ring diameter mismatch, like 1-inch rings on a 30mm tube, is a common setup error that causes exactly this.
Eye relief deserves a quick mention. After reinstallation, you'll likely need to adjust scope position forward or backward for proper cheek weld. Shooters tend to rush this step and end up with a scope that's 2 inches off.
Check it before you fire the first group.
Frequently Asked Questions
How long does removing a rifle scope take?
Removing a scope takes 5 to 15 minutes with the right tools. Ring-and-base setups are faster since you're just loosening four base screws and two sets of ring screws. QD mounts come off in seconds.
The bigger time investment comes during reinstallation when you're torquing to spec and re-zeroing.
Do I need to re-zero after removing and reinstalling a scope?
Yes, always re-zero after reinstallation. Even a perfect reinstallation will shift your point of impact by 1 to 2 MOA. Shoot a three-round group at your zero distance and adjust from there.
Skipping re-zeroing is the most common mistake shooters make after scope work.
What torque should I use for scope ring screws?
Most aluminum scope tubes call for 15 to 20 in-lbs. Steel tube scopes can handle 18 to 25 in-lbs. Base and mount screws typically take 25 to 45 in-lbs.
Always check your specific manufacturer's published specs. A quality torque wrench is non-negotiable for this job.
Can I remove scope ring screws that have red thread locker?
Red thread locker requires heat to break down. Apply a heat gun or soldering iron around 450°F for a minute or two, then loosen the screws while hot. Wear eye protection when working with heated components.
Blue thread locker, the more common choice, comes off with normal hand tools.
Will removing and reinstalling a scope void its warranty?
No, proper removal and reinstallation won't void a manufacturer warranty. Damage caused by over-torquing or crushing the tube might. Follow the torque specs published by the scope maker.
Using a torque wrench keeps your warranty intact and protects the optic.
Can I reuse the same scope rings after removal?
Yes, but inspect them first. Look for dents, burrs, or deformation around the ring cradles. Damaged rings won't grip the scope tube evenly and can cause zero shift.
If the rings are in good shape, clean them and reinstall with fresh thread locker.
Decision Guide: Matching Your Mount to the Right Removal Method
Your mount type determines the process. Match your setup to the right approach below.
| If You Have… | Use This Method | Estimated Time | Key Tool Needed |
|---|---|---|---|
| Ring-and-base mount | Loosen ring tops, lift scope, remove base screws | 10 to 15 minutes | Torx driver + torque wrench |
| One-piece cantilever mount | Remove cantilever mounting screws, lift unit off | 10 to 20 minutes | Torx driver + torque wrench |
| QD mount | Disengage lever locks, lift scope and mount together | 2 to 5 minutes | Hands only |
| Stripped or rounded screws | Stop and grab a proper Torx or hex bit before continuing | 15 to 30 minutes | Correct screwdriver bit set |
| Red thread locker present | Apply heat at 450°F before loosening | 20 to 40 minutes | Heat gun or soldering iron |
For hunting rifles, QD mounts give you the fastest swap capability. The trade-off is less predictable zero retention compared to bolt-on mounts. For precision rifles, stick with a bolt-on ring-and-base or cantilever system and torque everything to spec.
If this is your first scope job, budget an extra 15 minutes for cleanup. Wipe down the rail, inspect all ring cradles, and lay out fresh thread locker before you begin. The difference between a clean job and a scratched tube usually comes down to preparation.
When in doubt about torque specs, check the manufacturer's published documentation before touching a screw. Leupold, Vortex, Nightforce, and Trijicon all publish detailed torque recommendations for their mounting systems. Those numbers exist because they work.
Follow them and your zero will hold.