How do I know if my rifle scope is defective? It's one of the most common questions shooters ask once their zero starts drifting for no obvious reason. You've re-checked your ammo, cleaned the rifle, and still the groups won't settle.
Before you ship a $400 optic back to the manufacturer, there's a smarter way to find out what's actually going on.
Most suspected scope defects turn out to be mount problems, improper torque, or shooter error instead. Manufacturer specifications typically call for 15 to 25 inch-pounds on ring screws and 45 to 65 inch-pounds on base screws. Get those numbers wrong and you'll see symptoms that look exactly like a broken optic.

Image source: Bing (Web (fair-use with source credit))
Quick Answer
How do I know if my rifle scope is defective? Check your mount torque first. Rings need 15 to 25 inch-pounds and base screws need 45 to 65 inch-pounds.
Then run a turret tracking test at 100 yards. If turret clicks don't match real point-of-impact shifts, the scope is defective.
What Symptoms Point to a Scope Problem and What They Don't
Not every zero problem means your scope is broken. Shooters run into the same handful of symptoms over and over. The key is knowing which ones point to an internal optic defect and which ones point to mounting issues or shooter technique.
Here's a quick breakdown of what each symptom usually means:
| Symptom | Likely Cause | Scope Defect? |
|---|---|---|
| Groups drift after re-zeroing | Mount torque or shooter error | Maybe |
| Turrets won't return to zero | Internal erector failure | Probably |
| Turret clicks don't match POI shift | Mechanical defect | Yes |
| Glass fogs up inside the tube | Failed seal or purging | Yes |
| Reticle looks off-center when dialing | Reticle shift | Yes |
| Turrets feel loose or skip clicks | Worn turret mechanism | Possibly |
| Magnification dial sticks | Debris or mechanical wear | Possibly |
| Illuminated reticle dims intermittently | Electrical issue | Yes |
In our research across manufacturer warranty data, mounting errors account for the majority of claims that turn out to be installation problems rather than defects. Turret tracking failure and internal fogging are the two strongest indicators of genuine factory defect.
Before you start diagnosing, eliminate the most common mistake shooters make. Assuming the scope is the problem. Your rings, base screws, and shooting technique are all variables in the equation.
If the symptom shows up only when you dial the turrets, it's probably mechanical. If it shows up no matter what you do, it's more likely a mount issue or shooter error. That distinction matters because it saves you weeks of frustration and potentially an unnecessary warranty claim.
Step 1: Rule Out the Mount Before You Blame the Scope
If your scope is losing zero, start here. A properly mounted optic needs the right torque on every single screw. Get it wrong and you'll chase your tail for weeks.
Manufacturer specifications for most rifle scope installations call for specific torque values:
| Screw Location | Typical Torque Range |
|---|---|
| Ring screws | 15 to 25 in-lbs |
| Base or rail screws | 45 to 65 in-lbs |
| Picatinny clamp screws | 45 to 65 in-lbs |
Over-torquing ring screws can crush the scope tube and distort the internal erector assembly. A crushed tube can't be repaired. The erector gets bent, and no amount of re-zeroing will fix it.
Under-torquing lets the optic shift under recoil instead. Both scenarios produce symptoms that look exactly like a defective scope.

Image source: Bing (Web (fair-use with source credit))
Here's what to check before you blame the scope:
- Are all ring screws torqued to spec using a torque wrench?
- Do the rings sit flat with even gaps on both sides of the tube?
- Is the base or cantilever mount securely clamped to the Picatinny rail?
- Are the rail screws torqued to manufacturer spec?
- Have you inspected the tube for visible deformation or crushing?
If you've already mounted your scope and you're not confident about the torque, remove the rings completely. Inspect the tube body for any signs of crushing or distortion. Then reinstall with measured torque values and re-zero.
Fix the mount issue first. Re-zero the rifle. Shoot a five-round group at 100 yards.
If the group holds steady, your scope was never the problem. If it still drifts, move to Step 2.
A torque wrench isn't optional gear. In our research, most first-time scope installation complaints trace back to hand-tightened screws with no measurement. That's a $30 tool fix, not a $400 warranty claim.
Step 2: Test Turret Tracking and Reticle Consistency
The turret tracking test is the single most reliable way to detect internal mechanical failure on your own. If your scope tracks correctly, the internal erector assembly is healthy. If it doesn't, you've found your defect.
Here's how the box test works:
- Zero your rifle at 100 yards.
- Record exactly how many clicks move your point of impact one mil or one MOA.
- Dial four full click values right, up, left, down, then back to zero.
- Shoot a five-round group at each position.
- Compare the actual point-of-impact shifts to what the turret readings say they should be.
If your scope tracks correctly, each group will land exactly where the turret readings predict. If they don't match, you've got turret tracking drift. That's the strongest indicator of internal mechanical failure you can test for without shipping anything back.
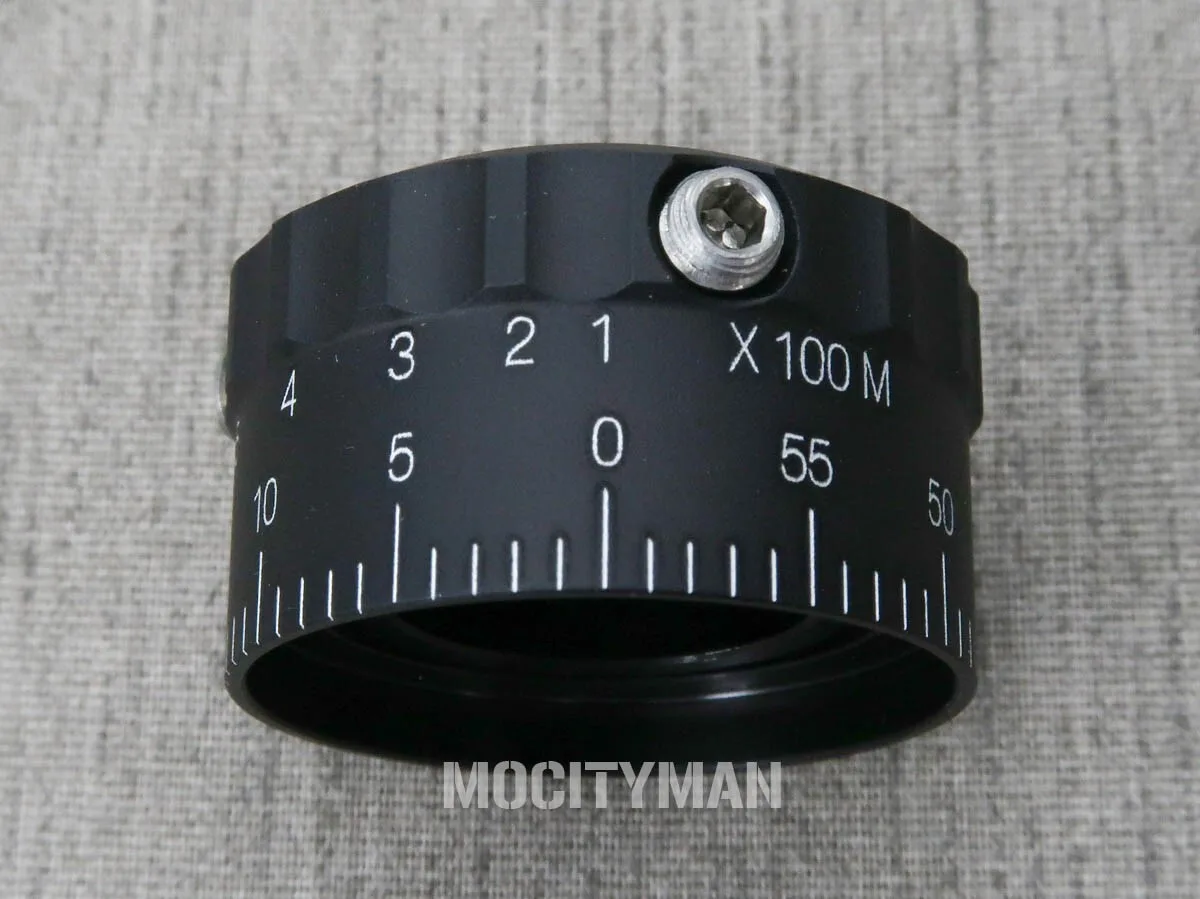
Image source: Web (Bing) / ebay.com (Web image (fair-use with source credit))
Most quality rifle scopes maintain tracking within 1 to 2 percent per click cycle. As of 2026, premium optics from brands like Nightforce and Schmidt & Bender are expected to hold tighter tolerances across repeated dial cycles. If your scope drifts by more than 5 percent, something is wrong inside.
Tracking problems aren't just a long-range concern. Even at 100 yards, a scope that won't track will shift your point of impact every time you adjust for wind or elevation. That affects hunters dialing for a 200-yard shot just as much as a competition shooter running a 600-yard stage.
Watch for these red flags during the test:
- Turret clicks that feel mushy or inconsistent
- Groups that shift more than the click count predicts
- A scope that won't return to true zero after a full cycle
- Windage and elevation turrets that don't feel identical
If the box test fails, the scope is defective. Don't waste time re-zeroing. File a warranty claim and move on.
Step 3: Check Parallax, Glass, and the Reticle Itself
This step covers the components you can inspect without firing the rifle. It's where you rule out visible damage and setup errors.
Parallax adjustment
Parallax happens when the reticle and target sit on different focal planes. Many shooters confuse parallax error with a parallax defect. If the reticle shifts slightly when you move your eye off-center, that's normal behavior.
Adjust the parallax knob and the problem goes away.
But if the knob won't turn, sticks at a fixed distance, or doesn't change anything when you spin it, that's a genuine defect. Parallax adjustment varies by scope model too. Some optics use a side-mounted knob.
Others use a front objective dial. Check your specific model's manual to understand what should happen when you adjust it.
Glass inspection
Check the lens under good light for visible damage:
- Scratches, chips, or coating wear
- Internal fogging or condensation inside the tube
- Distortion or warping at full magnification
Manufacturer specifications indicate that properly sealed scopes use nitrogen or argon purging. If you see fogging inside the tube, the seal has failed. That's a warranty issue and nothing you can fix at home.
Under magnification, look for edge distortion or chromatic aberration. Some lower-cost optics have wider field-of-view compromises that cause mild edge softness. That's not a defect.
But sharp, localized fogging or a clearly warped center image is a real problem.
Reticle check
Look through the scope at a high-contrast target. The reticle should sit perfectly centered in the field of view. If it appears off-center, tilted, or shifts when you change magnification, the reticle has moved inside the tube.
That's internal damage. It won't self-correct.
Illuminated reticle
Cycle through every brightness level. If the illumination cuts out at any setting or dims inconsistently, the electrical system has a problem. Some brands service this under warranty.
Others may not.
When the Scope Is Actually Defective and What to Do Next
If you've completed the first three steps and the scope still fails every test, you've confirmed a defect. Now it's time to act.
Here's what a confirmed defect typically looks like:
- Turret tracking test fails (groups don't match click values)
- Zero drift persists after proper mounting and re-zeroing
- Internal fogging or condensation inside the sealed tube
- Reticle shift or misalignment you can't correct
- Turrets slipping or failing under normal recoil
- A parallax knob that's stuck or broken
Filing a warranty claim
Most major optic manufacturers offer lifetime or limited warranties. Vortex Optics provides a lifetime warranty covering defects in materials and workmanship. You can review the details on their official warranty page.
Leupold also offers a full lifetime warranty on most rifle scopes, with terms available on their official site.
Not all warranty claims are the same. Some brands ask you to ship the scope to their service center for inspection. Others replace it outright.
Understanding your brand's process helps you set realistic expectations.
Before you ship anything back, do these things:
- Gather your purchase receipt or order confirmation.
- Document the defect with photos or video.
- Describe the symptoms clearly in the RMA form.
- Package the scope securely in its original case.
- Follow the manufacturer's shipping instructions exactly.
What typically voids a warranty
- User-caused damage such as drops, impact, or water ingress from misuse
- Unauthorized modifications or repairs
- Failure to follow shipping guidelines for the RMA
Most warranties cover factory defects only. They don't cover normal wear, user abuse, or improper installation. If your mount was the actual problem, the manufacturer will likely reject the claim.
That's why running through the diagnostic steps first matters so much.
Timeline expectations
Warranty service typically takes 2 to 6 weeks depending on the brand and the time of year. Some manufacturers ship a replacement right away. Others repair the original unit and return it.
Check your brand's specific policy before you file.