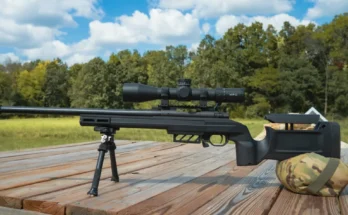
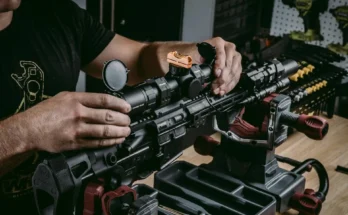
How do I sight in a rifle scope? It's the question almost every new shooter asks after bolting a fresh optic onto a rifle, and honestly, most people overthink it. The process isn't complicated, but it does require patience and a few specific steps done in the right order.
A zeroed scope means your bullet lands where the reticle is pointing at a confirmed distance. Manufacturer specifications for most modern scopes recommend torquing ring screws to 15 to 25 in-lbs and confirming your zero between 50 and 100 yards. Here's how the whole process fits together.
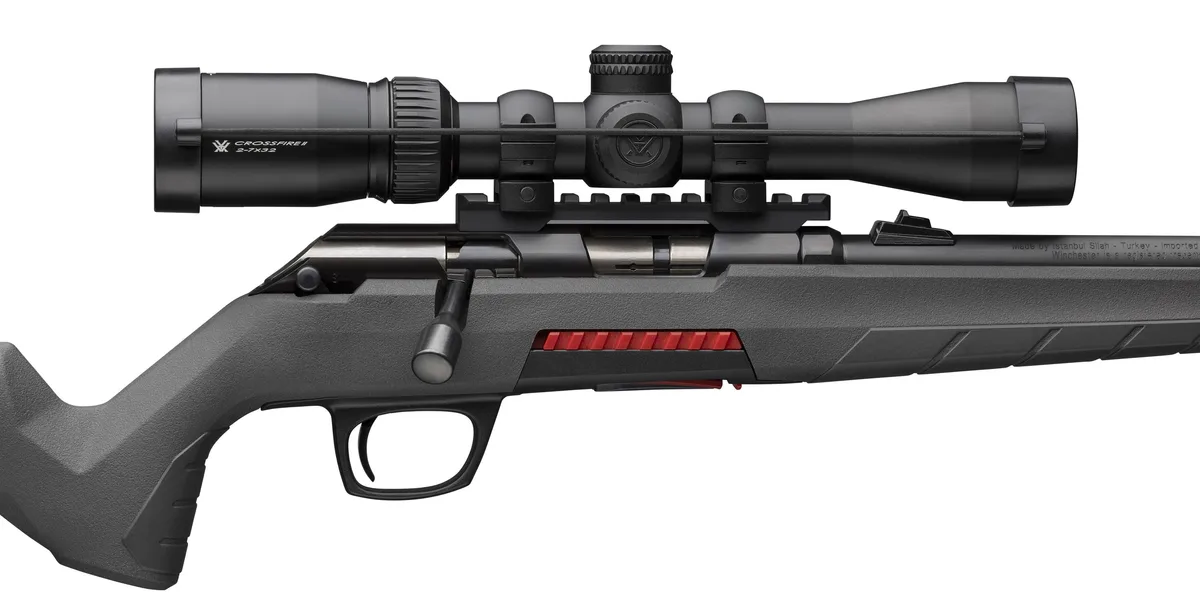
Image source: Web (Bing) / winchesterguns.com (Web image (fair-use with source credit))
Quick Answer
Bore sight at 25 yards, then fire a three-shot group.
Measure your distance to point of aim and adjust turrets.
Use 1/4 MOA clicks until shots land on target.
Confirm your zero at 100 yards with 20 to 40 rounds.
Why Your New Scope Still Shoots Off Target (And Why Bore Sighting Alone Isn't Enough)
Here's the thing most scope-mounting guides gloss over. You can bore sight perfectly at 25 yards and still be off by inches when you pull the trigger for real. Bore sighting aligns your barrel to the target.
It doesn't confirm that your reticle is actually pointing where the bullet will go.
Manufacturers like Vortex Optics publish specific torque specs for base and ring screws, and skipping that step is one of the most common reasons a new scope shoots off target. They recommend torquing 1-inch ring screws to 15 in-lbs and 30mm rings to 20 in-lbs. Improper torque causes the scope to shift under recoil, and suddenly you're chasing a zero that keeps moving.
A bore-sighted target might look like a bullseye on paper. The actual live-fire group can sit four to six inches away from point of aim, depending on the rifle, the mount, and the shooter's consistency. That gap is exactly what bore sighting alone can't fix, and it's why every zeroing guide ends with live-fire confirmation.
How a Rifle Scope Zero Actually Works: Bore, Reticle, and Point of Impact
A rifle scope zero is the relationship between where your reticle points and where your bullet lands at a specific distance. You set that relationship, then trust it at every other range. Most shooters zero at 100 yards, though some calibers and terrain call for 50.
Here's the vocabulary that matters. The reticle is the crosshair pattern inside the scope. Point of aim is where the reticle sits on target.
Point of impact is where the bullet actually hits. When those two match at your chosen distance, you're zeroed.
Most modern scopes adjust in either MOA (minute of angle) or MRAD (milliradian). Leupold turret clicks are typically 1/4 MOA, meaning one click moves the point of impact about 0.25 inch at 100 yards. MRAD scopes usually use 0.1 mil clicks, which move about 0.36 inches at the same distance.
A diagram of the relationship would show three lines clearly: the bore, the reticle, and the bullet trajectory converging on one point at target. When they don't converge, you adjust the turrets until they do.
Step-by-Step: Sighting In a Rifle Scope at the Range
Before You Fire: Mounting, Torquing, and Leveling the Scope
Before a single round goes downrange, three things need to be right. The scope base must be tight. The rings must be torqued to spec.
And the scope must be level against the rifle bore.
Use a torque wrench. Manufacturer specs vary, but base screws usually want 25 to 30 in-lbs while ring screws want 15 to 20 in-lbs. Check your scope's manual or Leupold documentation for exact figures.
| Tool | Purpose |
|---|---|
| Torque wrench | Proper base and ring screw torque |
| Bubble level | Anti-cant check on scope and rail |
| Bore-sighting tool | Initial reticle alignment to target |
| Grid zero target paper | Measuring group center accurately |
| Rifle rest or sandbag | Stable shooting platform |
Set eye relief to roughly 3 to 4 inches between your eye and the scope. Set magnification to the lowest setting. It keeps your field of view wide and makes the initial group easier to read.
The Live-Fire Zeroing Sequence
Start at 25 yards with a bore-sighted rifle. Fire three shots. Aim at the center of a grid target and check where the group lands relative to point of aim.
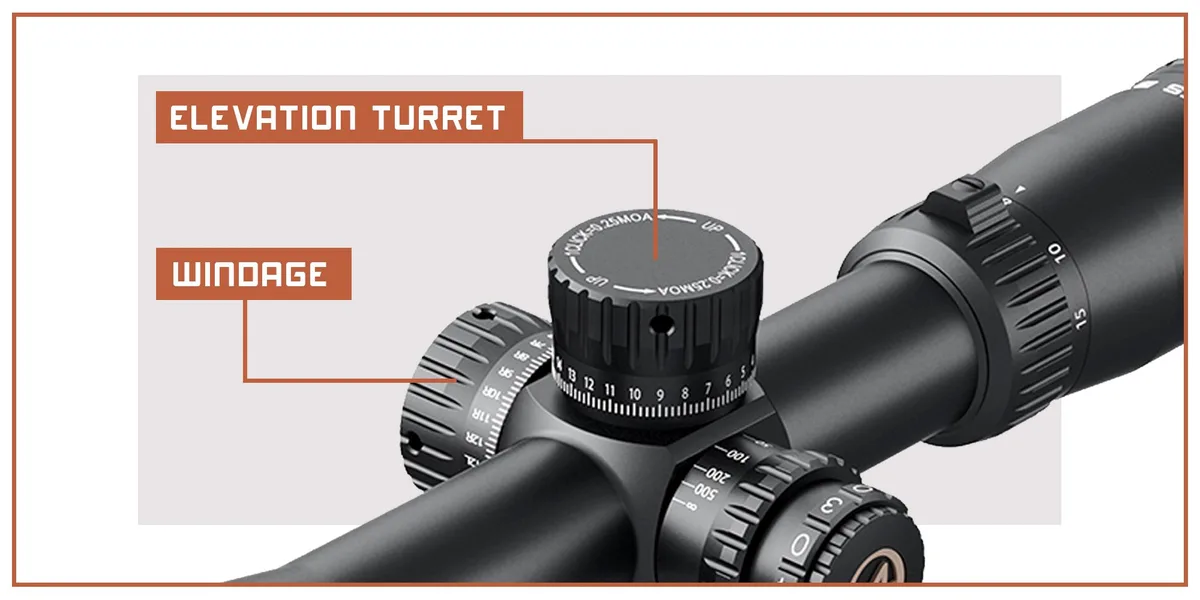
Image source: Bing (Web (fair-use with source credit))
Scope turrets are where you make corrections. Each click on a 1/4 MOA turret moves the point of impact about 0.25 inch at 100 yards, or roughly 0.06 inches at 25 yards. If your group is two inches right of center, count the clicks needed and adjust.
Work in small increments and fire again after every adjustment.
Confirming Your Zero at 100 Yards
Once you're hitting the center dot at 25 yards, move to 100. Fire another three-shot group and confirm your point of impact hasn't shifted. Record your final turret position.
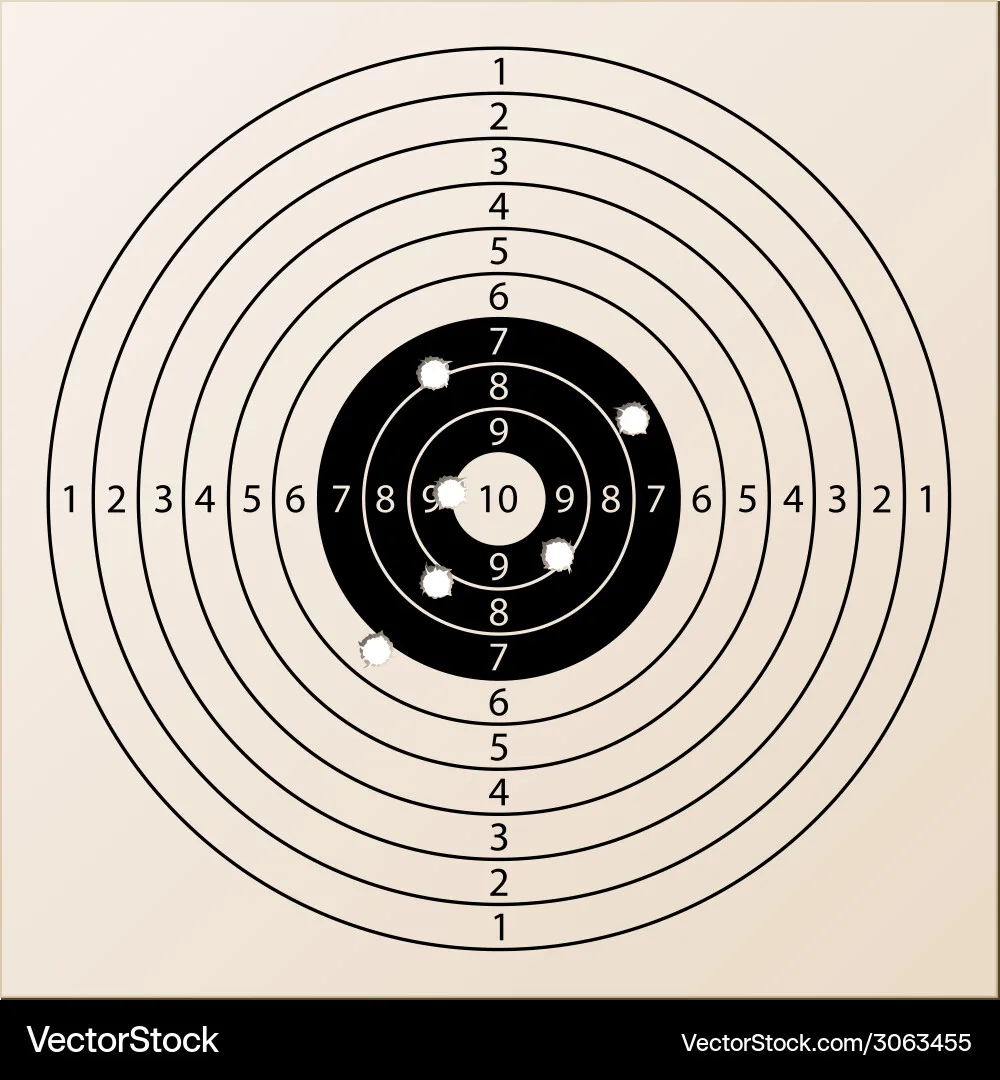
Image source: Web (Bing) / vectorstock.com (Web image (fair-use with source credit))
A clean grid target at 100 yards should show your group within a 1-inch circle. If it's off, adjust again and reconfirm. Write down your zero in a range log or on a piece of tape on the scope base so you can return to it later.
Common Visual Mistakes When Sighting In a Scope
Most zeroing problems are actually visual problems in disguise. Here are the mistakes that show up most often in aggregate shooter reports and range feedback.
The scope is slightly canted. If the crosshair isn't perfectly level, every adjustment gets pushed off axis. Use a bubble level on both the scope and rail before you start.
Magnification is set too high. Zeroing at maximum magnification makes your group look huge on target. Drop to the lowest setting and you'll read the group much faster.
You're chasing shooter error. If your group is wild, the scope may not be the problem. Check your rest, your trigger pull, and your breathing before adjusting turrets.
The reticle looks centered but the rifle is off. Bore sighting can give you a false sense of alignment. Always confirm with live fire before trusting the zero.
A diagram showing a canted scope beside a properly leveled one would make this instantly clear. The crosshair tilt is subtle but it compounds every shot you fire.
Bore Sighting Only vs. Live-Fire Confirmation: Choosing Your Zero Distance
Every zeroing debate comes down to two choices: how far to zero, and how to confirm. Here's how the common approaches stack up.
| Approach | Distance | Best For |
|---|---|---|
| Bore sight + short zero | 25 yards | Mountain hunters, budget builds |
| Live-fire zero | 50 or 100 yards | Most hunting and sport shooters |
| Extended zero | 200+ yards | PRS, NRL, long-range setups |
A 25-yard zero works well for flat-field hunting where most shots land between 100 and 250 yards. It's the default for many deer rifle setups as of 2026, and it's quick to confirm with just a box of ammunition.
A 100-yard zero gives you the most direct understanding of your rifle's true point of impact. It's the standard most shooters should default to, especially if you're shooting beyond 200 yards regularly.
If your hunt involves significant elevation change, mountainous terrain, or shots at 300 yards and beyond, a 200-yard zero may be more appropriate. Confirm it with live fire regardless. Never trust a bore sight alone for a hunting trip.
Expert Tips for a Cleaner, More Repeatable Zero
A good zero takes more than firing rounds and adjusting turrets. Aggregate shooter reports consistently point to a handful of habits that separate a repeatable zero from a frustrating one.
Use a torque wrench every time. Don't rely on feel. Manufacturer specs for ring screws typically fall between 15 and 20 in-lbs. Consistent torque is what keeps your point of impact from drifting after a hunting trip or a season of recoil.
Apply threadlocker sparingly on base screws. Many experienced shooters use a drop of blue threadlocker (medium strength) on base screws to prevent backing out. Ring screws usually don't need it, since overtightening risks crushing the scope tube.
Mark your turrets with a witness mark. A small dot of paint or a strip of tape on the turret cap tells you immediately whether a knob has turned during transport. If your zero shifts, you'll know where it happened.
Reconfirm zero after removing the scope. If you take the optic off the rifle for any reason, plan on reconfirming your zero at the range. Quick-detach (QD) rings help, but even good ones can shift the point of impact by a few clicks.
Shoot from a consistent rest position. Rifle bags, a fixed benchrest, or a bipod all produce better groups than offhand shooting. Your zero is only as good as the platform you confirm it on.
Record everything in a range log. Note the distance, ammunition brand, turret position, and group size every session. Patterns emerge over time, and you'll spot problems before they show up in the field.
Check for cant before every session. A bubble level on the scope tube takes seconds and catches the most common visual error in zeroing. If the scope isn't level, every turret adjustment is compromised.
Frequently Asked Questions
How long does sighting in a rifle scope take?
Most shooters complete a full zero in 30 to 60 minutes at the range, depending on preparation. The process usually takes 20 to 40 rounds of ammunition. If your bore sight is accurate and your mounting is solid, you can confirm a 100-yard zero with fewer rounds.
Can I sight in a rifle scope without shooting it?
Yes, you can bore sight without live fire. Bore sighting aligns the barrel to the target, but it doesn't confirm your actual point of impact. Always follow up with live-fire confirmation before trusting a zero for hunting or competition.
What distance should I zero my rifle scope?
Most rifles are zeroed at 100 yards. Some hunters prefer 50 yards for flat-field conditions, and long-range shooters often use 200 yards. Your choice depends on the caliber, terrain, and typical shot distance.
Do I need a torque wrench for scope rings?
A torque wrench isn't strictly required, but it's the best way to get consistent, manufacturer-recommended results. Torque specs vary by scope and ring type. Guessing with a screwdriver risks under-torquing or over-tightening.
What should I do if my scope won't hold zero?
Check the ring and base screws first. Loose screws are the most common cause. Then verify that the scope is level and that the reticle was properly aligned during zeroing.
If problems persist, re-mount the scope and reconfirm at the range.