How do I clean rifle scope lenses? It's one of those questions that looks simple until you realize how easily you can ruin a $1,500 optic in a single careless wipe. Rifle scopes use anti-reflective coatings that are often just 80 to 120 nanometers thick.
Those coatings scratch almost as easily as they resist glare.
Manufacturers like Leupold and Vortex specify coating-safe cleaning methods for a reason. Getting them wrong can void your warranty or permanently haze the glass. As of 2026, premium scope coatings have gotten even more advanced.
They demand more care than ever.
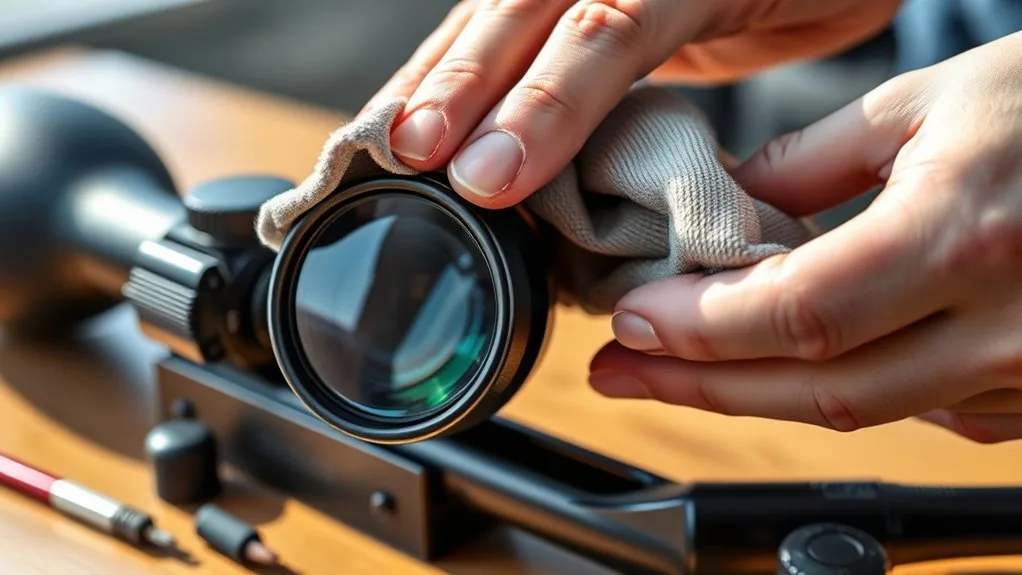
Image source: Web (Bing) / americangunworks.net (Web image (fair-use with source credit))
Quick Answer
How do I clean rifle scope lenses? Blow off loose dust first with an air blower. Apply a coating-safe lens cleaner to a microfiber cloth.
Wipe gently in a circular motion. Inspect the lens under light, then replace the lens cap.
Why Cleaning Scope Lenses Wrong Can Ruin a $1,000+ Optic
The mistake is almost always the same. You notice dust or fingerprints on your scope lens, grab whatever cloth is nearby, and wipe it off. That single motion grinds particles into the coating and creates scratches you can't fix.
Anti-reflective (AR) coatings are the thin layers that make your scope transmit more light and reduce glare. They sit directly on the glass, and they're softer than most people expect. Manufacturer specs from companies like Leupold indicate these coatings score around 4H to 6H on a pencil hardness scale.
When you scratch the coating, you don't just lose cosmetic quality. You reduce light transmission, increase internal glare, and create haze that affects target identification at distance. For a precision shooter, that's not a minor issue.
What you're protecting with proper cleaning
| What bad cleaning costs you | What good cleaning preserves |
|---|---|
| Coated lens surface | Full light transmission (95%+) |
| Warranty coverage | Manufacturer warranty eligibility |
| Resale and trade value | Original optical performance |
| Clarity in low light | Sharpness across magnification range |
The numbers add up fast. Aggregate reviews on shooting forums consistently report that improperly cleaned coated lenses lose noticeable optical quality in dawn and dusk conditions. That's exactly when hunting matters most.
What's Actually on Your Lens and Why It Changes Everything
Before you clean anything, identify what's on the glass. The contamination type determines your entire cleaning method. Using the wrong approach can make things worse.
The six types of contamination
Most scope lens contamination falls into six categories:
- Dry dust and dirt: The easiest to damage the coating if wiped directly.
- Fingerprints and skin oils: Sticky, but removable with proper fluid.
- Water spots and mineral scale: Rain and dew leave deposits that won't wipe off dry.
- Mud and heavy debris: Requires gentle removal before any contact cleaning.
- Insect residue: Common in warm seasons and needs careful spot treatment.
- Tree sap and pollen: Sticky compounds that demand patience and the right solvent.
If you're not sure what's on the lens, hold it under a light source at a slight angle. The reflection tells you what you're dealing with. Dust looks matte.
Oil looks streaky. Water spots show hard mineral edges.
Why coating type matters
Premium scopes from Vortex Optics and Schmidt & Bender use multi-coated or fully multi-coated (FMC) lens systems. Each coating layer is deposited in a vacuum chamber and can be as thin as 80 nanometers. That's roughly 1/1000th the width of a human hair.
The thinner and more numerous the coatings, the more fragile they are. ED glass and fluorite elements used in high-end scopes add another consideration. These materials resist scratches better than standard glass but can still be damaged by abrasive wiping.
The takeaway is simple. Always identify the contamination before choosing your cleaning method. The wrong first step is the one you can't undo.
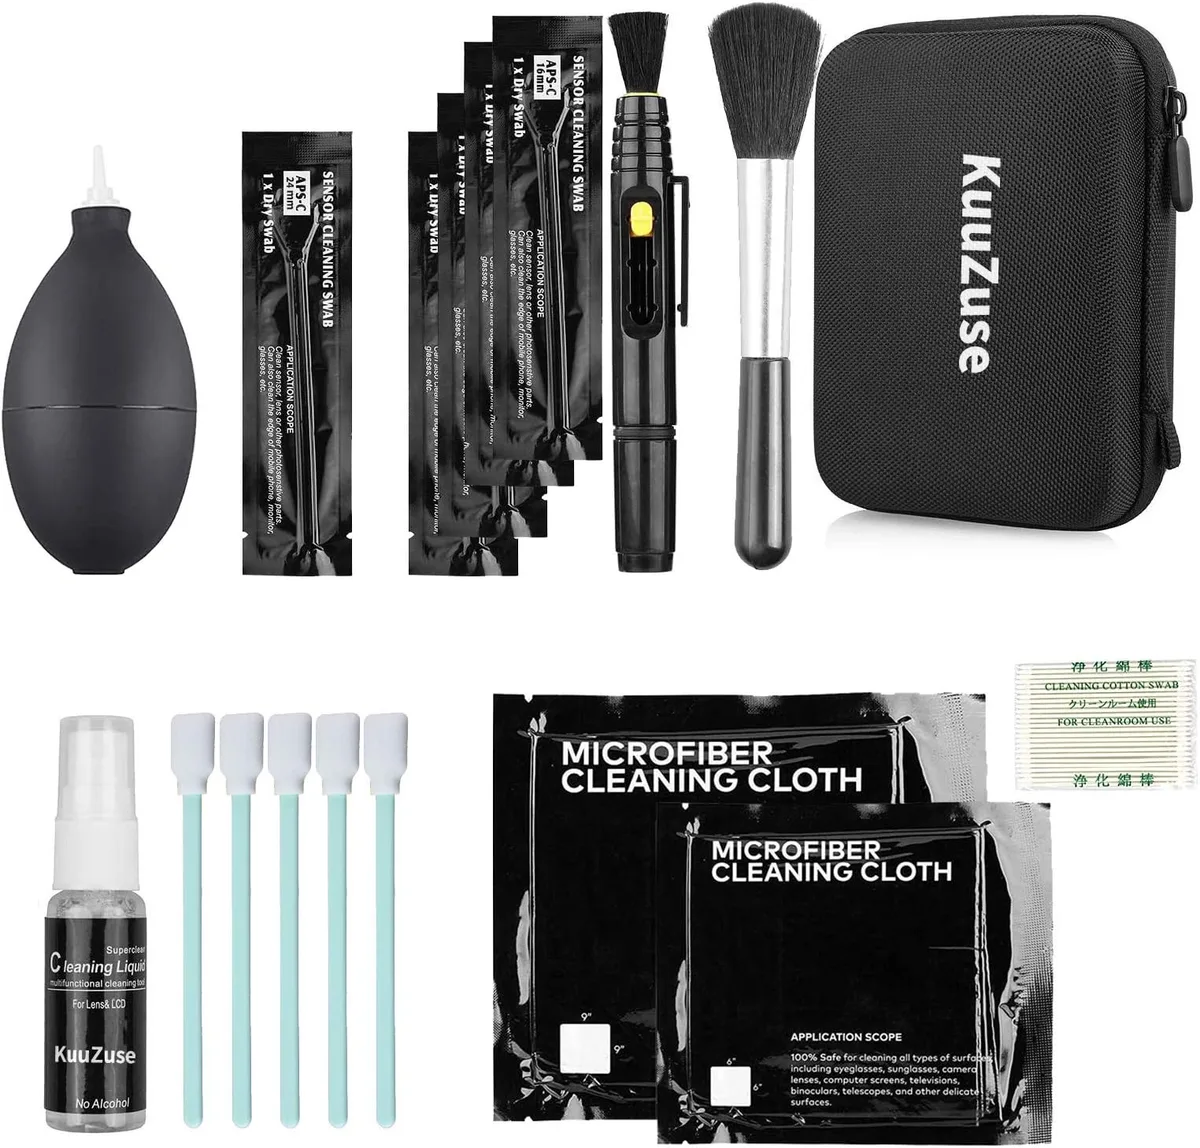
Image source: Web (Bing) / amazon.com (Web image (fair-use with source credit))
The Scope Lens Cleaning Decision Tree: Step-by-Step
Here's the process that prevents damage. It's a decision tree, meaning your first move depends on what you're looking at. Follow it in order.
Step 1: Handle the scope safely
Before touching the lens, ensure the firearm is unloaded. Open the action and visually verify the chamber is empty. Place the scope on a padded surface to prevent drops.
Step 2: Identify the contamination
Use the light test from the previous section. Classify what you're seeing: dry debris, oily residue, water spots, or something sticky. This determines which branch of the cleaning tree you take.
Step 3: Choose your first action
| Contamination type | First action | Tool |
|---|---|---|
| Dry dust or dirt | Blow off before any contact | Air blower or lens pen |
| Fingerprints or oil | Wet clean with solution | Microfiber cloth + lens fluid |
| Water spots | Wet clean, then dry polish | Microfiber cloth + lens fluid |
| Mud or heavy debris | Blower first, then wet clean | Air blower + microfiber |
| Insect residue | Spot treatment with fluid | Lens tissue + fluid |
| Tree sap or pollen | Patience and coating-safe fluid | Microfiber cloth + fluid |
Step 4: Blow off first, always
This is the non-negotiable rule. Whether you're at a range bench or hunting in the field, remove loose particles before any cloth touches the glass. Use an air blower.
If you don't have one, a lens pen with a brush tip works in a pinch.
Never use compressed air cans from the hardware store. Their propellant leaves a residue that damages coatings and won't come off.
Step 5: Apply fluid to the cloth, not the lens
Manufacturer guidance from Vortex Optics and Leupold consistently advises applying cleaning fluid to the microfiber cloth first. Then wipe the lens in gentle circular motions. This keeps fluid from seeping past the scope seals into the interior.
Step 6: Dry and inspect
Use a clean, dry section of the microfiber cloth to remove any residual fluid. Hold the lens under a light source and check for streaks or haze. If everything looks clear, put the lens cap back on.
Field Cleaning vs. Bench Cleaning vs. Professional Service
Not every situation calls for the same level of care. Here's how the three approaches compare and when each one makes sense.
Field cleaning
You're mid-hunt and the lens has dust on it. You've got a microfiber cloth in your pocket. Blow off loose debris, then wipe gently with the cloth only.
No fluid available.
Field cleaning is fast and effective for dry contamination. It's not ideal for sticky residue or heavy buildup. Keep a cloth in your hunting pack and use it after every exposure to dust, pollen, or rain.
Bench cleaning
You're home after a range trip with a full kit: air blower, lens fluid, microfiber cloth, lens tissue, and a lens pen. This is the setup that lets you use every step of the decision tree.
Bench cleaning gives you proper fluid application, full inspection time, and the ability to treat stubborn contamination patiently. Manufacturers recommend this approach for regular maintenance.
Professional service
Professional scope service involves disassembly, internal lens cleaning, and resealing. It typically costs $75 to $200 depending on the scope manufacturer.
Professional service becomes necessary when contamination has reached internal elements, when seals are compromised, or when you've used the wrong cleaning fluid and can't reverse the damage yourself.
| Factor | Field cleaning | Bench cleaning | Professional service |
|---|---|---|---|
| Time | 1-2 minutes | 5-10 minutes | 1-2 weeks |
| Cost | Free | $8-$60 (kit) | $75-$200 |
| Effectiveness | Good for dry dust | Excellent | Full restoration |
| Risk | Low | Low | Depends on service |
| Best for | Mid-hunt cleanup | Regular maintenance | Deep contamination |
Mistakes That Scratch Coated Lenses: Every Time
These are the errors that show up most often in shooter communities. Each one causes coating damage that you can't fully reverse.
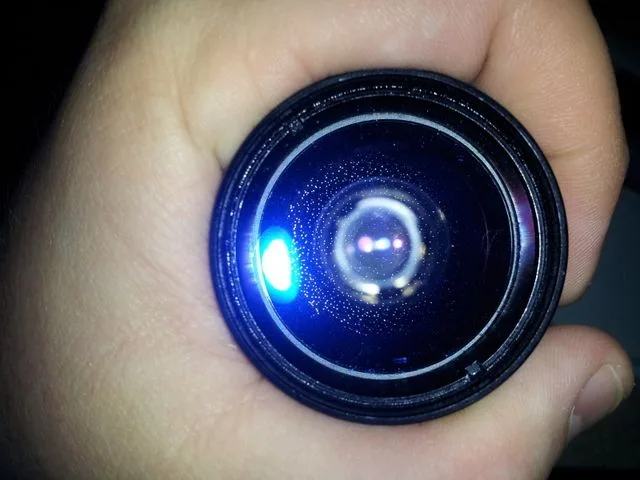
Image source: Web (Bing) / atgreloading.forumotion.com (Web image (fair-use with source credit))
Wiping dry dust first
This is the number one mistake. If you see dust on the lens, blow it off before any cloth touches the glass. Dry dust particles are abrasive.
Wiping them across a coating is like running sandpaper over glass.
Using shirt fabric or paper towels
Cotton fabric and paper products have fibers too coarse for optical coatings. They leave micro-scratches that build up over time. Only use microfiber cloths or lens tissues designed for optical surfaces.
Reaching for household cleaners
Windex, eyeglass spray, and generic glass cleaners contain ammonia or alcohol formulations that can strip AR coatings. Leupold and other manufacturers recommend only their coating-safe cleaning solutions for coated optics.
Using compressed air cans
Hardware-store compressed air often contains propellant compounds. These leave a chemical residue on the lens surface that's very difficult to remove. They can permanently damage coatings in a single use.
Cleaning fluid seeping into the scope
If you spray fluid directly onto the lens, it can seep past the seals and fog the interior permanently. Always apply fluid to the cloth first, then wipe the lens. This single rule protects your entire optic.
Ignoring lens caps
The simplest mistake. If you don't put your lens cap on after every use, you're inviting contamination before your next session. This single habit prevents more damage than any cleaning technique.
Wrong order of operations
| Wrong sequence | What happens | Correct sequence |
|---|---|---|
| Wipe, then blow | Particles grind into coating | Blow, then wipe |
| Spray lens directly | Fluid seeps into interior | Apply to cloth first |
| Use shirt fabric | Micro-scratches accumulate | Use microfiber cloth |
| Skip inspection | Missed contaminants remain | Inspect under light |
| Use household cleaner | Coating gets permanently stripped | Use coating-safe fluid |