Can I zero a rifle scope without shooting? It's the first question most shooters ask when they've just mounted a new optic and realize how many rounds proper zeroing might take. The honest answer is yes, but only partially.
Bore sighting gets you on paper. It doesn't give you a true zero.
Optical bore collimators are the most accurate non-shooting method available. Manufacturer specs indicate they can align your reticle within 0.5 to 2 MOA of your intended zero at 100 yards. One MOA is roughly one inch at that distance.
So the question isn't technical, it's practical. What do you gain by skipping live fire, and what do you lose?
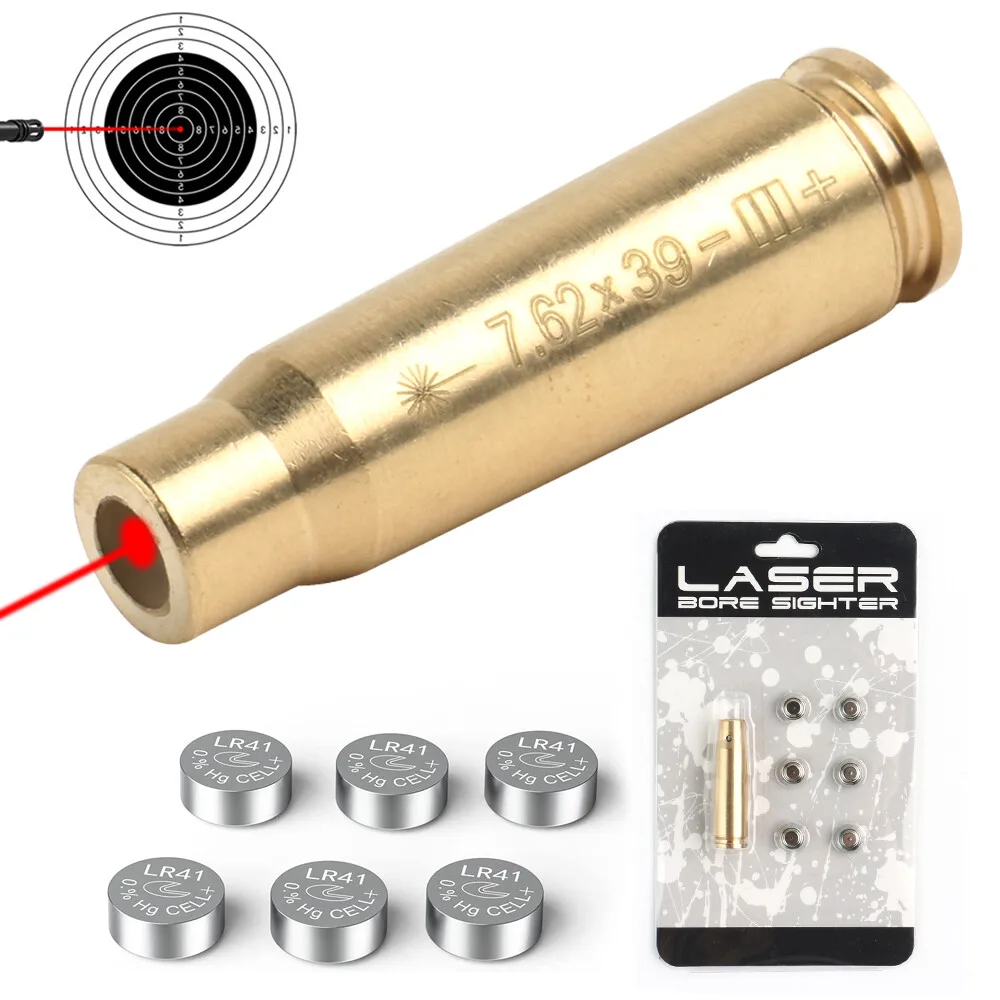
Image source: Bing (Web (fair-use with source credit))
Quick Answer: Can You Zero a Rifle Scope Without Shooting?
You can pre-zero a rifle scope without shooting. But it won't give you a true zero. Bore sighting and laser bore sighters align your reticle roughly.
Most methods land within 2 to 6 inches at 100 yards. You still need live-fire confirmation for a final zero.
Bore Sighting Is Not the Same as True Zeroing. Here's the Difference
There's a persistent confusion in the shooting world that trips up a lot of beginners. Bore sighting is often described as "zeroing," and for practical purposes the two words get used interchangeably. They're not the same thing.
Bore sighting means aligning your bore, the inside of the barrel, with your reticle. You're making sure the optic points where the barrel points.
Manual bore sighting involves looking through the back of the barrel while a target sits at a distance. Laser bore sighters and optical bore collimators do the same job electronically or optically instead.
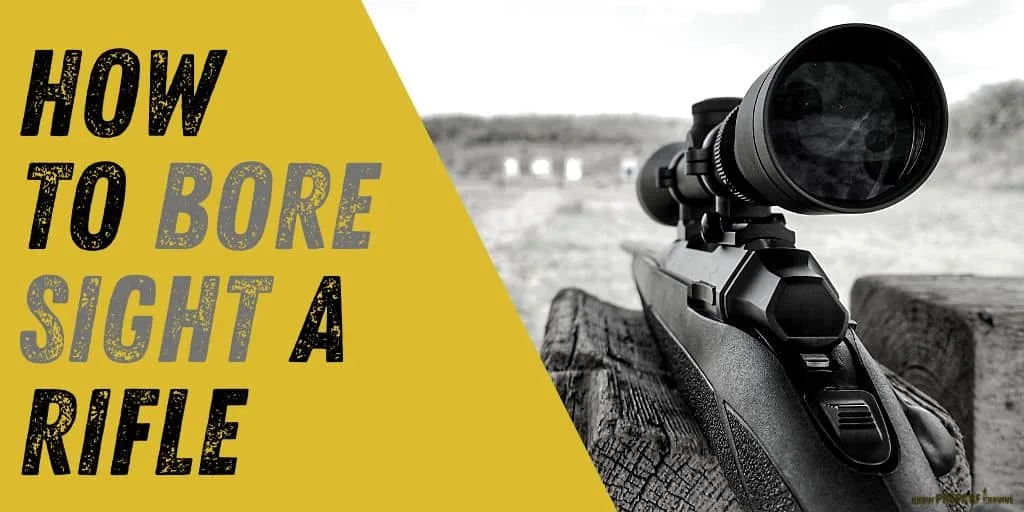
Image source: Web (Bing) / knowpreparesurvive.com (Web image (fair-use with source credit))
True zeroing means your point of impact matches your point of aim at a specific distance, using a specific type of ammunition. It accounts for bullet drop, muzzle velocity, and how the optic sits relative to the bore on that rifle.
Here's what bore sighting cannot account for:
- Ammunition variation between brands, lots, and grain weights
- Mount inconsistency, including ring torque and base alignment
- Parallax error, which shifts point of impact at higher magnifications
- Shooter input, including trigger control and recoil management
- Environmental factors such as temperature, altitude, and angle
If you bore sight a new scope, mount it properly, and still find your first live-fire group 8 inches off, that's not the method failing. It's the inherent limitation of non-shooting alignment.
A laser bore sighter typically gets you within 2 to 3 MOA of your intended zero. An optical bore collimator might get closer. Neither replaces actually shooting the rifle with your specific ammunition.
This distinction matters most when accuracy demands are high. Long-range shooters, competition marksmen, and anyone relying on a single-shot hit at distance can't afford a 6-inch margin of error at 100 yards. For them, bore sighting is a starting point and nothing more.
Which Bore-Sighting Method Fits Your Situation?
Your situation determines which method makes sense. Here's a practical breakdown.
| Method | Typical Accuracy | Cost | Best For |
|---|---|---|---|
| Manual bore sighting | 2 to 6 inches at 100 yards | Free | Quick visual check with no gear |
| Laser bore sighter | 1 to 3 MOA | $15 to $50 | Home prep before a range trip |
| Optical bore collimator | 0.5 to 2 MOA | $40 to $120 | Closest possible non-shooting starting point |
| Iron sight co-witness | Varies by rifle | Free (if installed) | AR-15 owners with existing iron sights |
If you have no equipment and need a rough alignment, manual bore sighting works fine. It requires nothing but your own eyes and a target at a known distance. If you want the best non-shooting starting point, an optical bore collimator gives you the closest result without firing a round.
For AR-15 owners with iron sights already installed, co-witnessing provides a solid baseline. Align your reticle with the front sight post at 25 yards, then verify at 100. It's not perfect, but it's faster than most bore sighting methods.
Before you pick a method, think about what you'll use the rifle for. If it's a benchrest rifle you'll shoot at 300-plus yards, the precision of your bore sighting matters less than the consistency of your live-fire zero. If it's a hunting rifle you'll use at 150 yards, a rough bore sight saves you both time and ammo.
As of 2026, laser bore sighter prices have settled into a competitive range. Most quality options land between $20 and $40. That's often cheaper than a single box of premium centerfire ammunition in many calibers.
Per the manufacturer's zeroing guidelines from Vortex Optics, live-fire verification is still recommended after any scope mounting or turret adjustment.
Step-by-Step: How to Zero a Rifle Scope Without Shooting
Here's a practical workflow for pre-zeroing your scope without live fire. Work through each step carefully. Rushing this part causes more problems than it saves.
Step 1: Confirm the rifle is unloaded. Remove the bolt, check the chamber, and treat every firearm as loaded until proven otherwise.
Step 2: Mount the scope to the rifle using the correct rings and base. Torque the rings to manufacturer specs, typically 15 to 20 in-lbs for most models.
Step 3: Set proper eye relief. Position the optic so you get a full, clear field of view without straining your neck. Reticle alignment matters here too.
Step 4: Choose your method: manual bore sighting, laser bore sighter, or optical bore collimator.
Step 5: For manual bore sighting, look through the back of the barrel at a distant target. Align the bore with the center of the target, then adjust your turrets until the reticle lands where the bore points.
Step 6: For a laser bore sighter, insert the device into the bore and activate the laser. Align the reticle with the laser point at your target distance.
Step 7: Set your turrets to a known zero-stop or return-to-zero position. Mark your settings so you know where your mechanical zero sits.
Step 8: Verify alignment at a short distance, typically 25 to 50 yards. Your reticle should now sit where your bore points.
That's it for non-shooting zeroing. But don't confuse this with a confirmed zero. What you've done is get the optic close enough that your first live-fire group should land on paper.
What Live-Fire Confirmation Zeroing Still Requires
Bore sighting gets you started. Live fire finishes the job. Here's what you still need to do at the range.
Take at least 3 to 5 shots at your intended zero distance, typically 100 yards for most centerfire rifles. Measure your group center, not just individual shots. Adjust your turrets based on where the center of that group lands compared to your point of aim.
If your group center is 2 inches right and 1 inch high, dial 8 clicks left and 4 clicks down on 1/4 MOA turrets. Then shoot another group to confirm. Each round of adjustment takes fewer shots as you close in.
Pay attention to environmental conditions when confirming zero. Temperature, altitude, and humidity all affect bullet trajectory. Windage is often the hardest variable to account for in a controlled setting.
Shoot on a calm day first to get your baseline zero, then adjust for conditions later.
One thing worth confirming at the range: turret tracking. Manufacturers like Nightforce Optics publish torque specs and zero-stop settings for their models. Verify that each click on your turret moves the reticle the advertised distance.
A quarter MOA turret should shift your point of impact roughly one quarter inch at 100 yards per click. If it doesn't, something is wrong with the optic or mount.
A clean live-fire zero typically takes 20 to 45 minutes at the range once your scope is bore-sighted. Without bore sighting, it can take an hour or more because your first group may land entirely off paper. That's the real savings of non-shooting prep.
You're not skipping the range trip, you're making it shorter and cheaper.
Mistakes That Make Non-Shooting Zeroing Worse Than Nothing
Bore sighting done wrong creates false confidence. That's more dangerous than skipping it entirely.
Skipping proper torque specs. Ring torque varies by manufacturer. Overtighten and you risk crushing the scope tube. Under-tighten and it shifts under recoil.
Check your optic's manual and use a torque wrench. Most rings call for 15 to 20 in-lbs.
Ignoring parallax adjustment. Many modern scopes have side focus or parallax knobs. If you leave them at the wrong setting, your point of impact shifts when you change magnification. Set parallax for your bore-sighting distance to get a clean starting picture.
Using the wrong ammunition. Bore sighting with one type of ammo and zeroing with another is a recipe for confusion. Match your live-fire rounds to your bore-sighting reference. If you plan to hunt with 150-grain soft points, verify with those same rounds.
Forgetting cold bore shift. Some rifles shoot their first round differently than subsequent shots, often a couple inches left or right of the group. Bore sighting won't capture this. You only discover it through live fire.
The common thread in all these mistakes is assuming bore sighting substitutes for actual zeroing. It doesn't. It's a diagnostic tool and a time-saver, nothing more.
When You Absolutely Need a Live-Fire Zero
There are situations where skipping live fire isn't just risky, it's negligent.
If you're mounting a scope for the first time on a rifle, live-fire confirmation is non-negotiable. Every optic sits differently on a receiver. Ring height, base alignment, and bore-to-scope relationship all vary from rifle to rifle.
If you're zeroing for hunting, you need a confirmed zero with your specific ammunition. A shot at 200 yards on a deer depends on your point of impact matching your point of aim within a couple of inches. Bore sighting alone can't guarantee that.
If you're zeroing for competition, there's no substitute for live fire. PRS and NRL shooters typically verify zero at least once before every match. Turret tracking, recoil management, and environmental variables all need confirmation under live-fire conditions.
If you're switching optics or changing ammunition, confirm again. Each optic has its own zero point and turret behavior. Each bullet has its own trajectory.
Old zero data doesn't carry over.
As of 2026, ammo prices for centerfire rifle cartridges still run $0.50 to $1.50 per round in many calibers. That's expensive, but a missed shot at a hunting range or competition stage costs far more in outcomes. Bore sight to save ammo on the range.
Then shoot enough to know your rifle is truly zeroed.
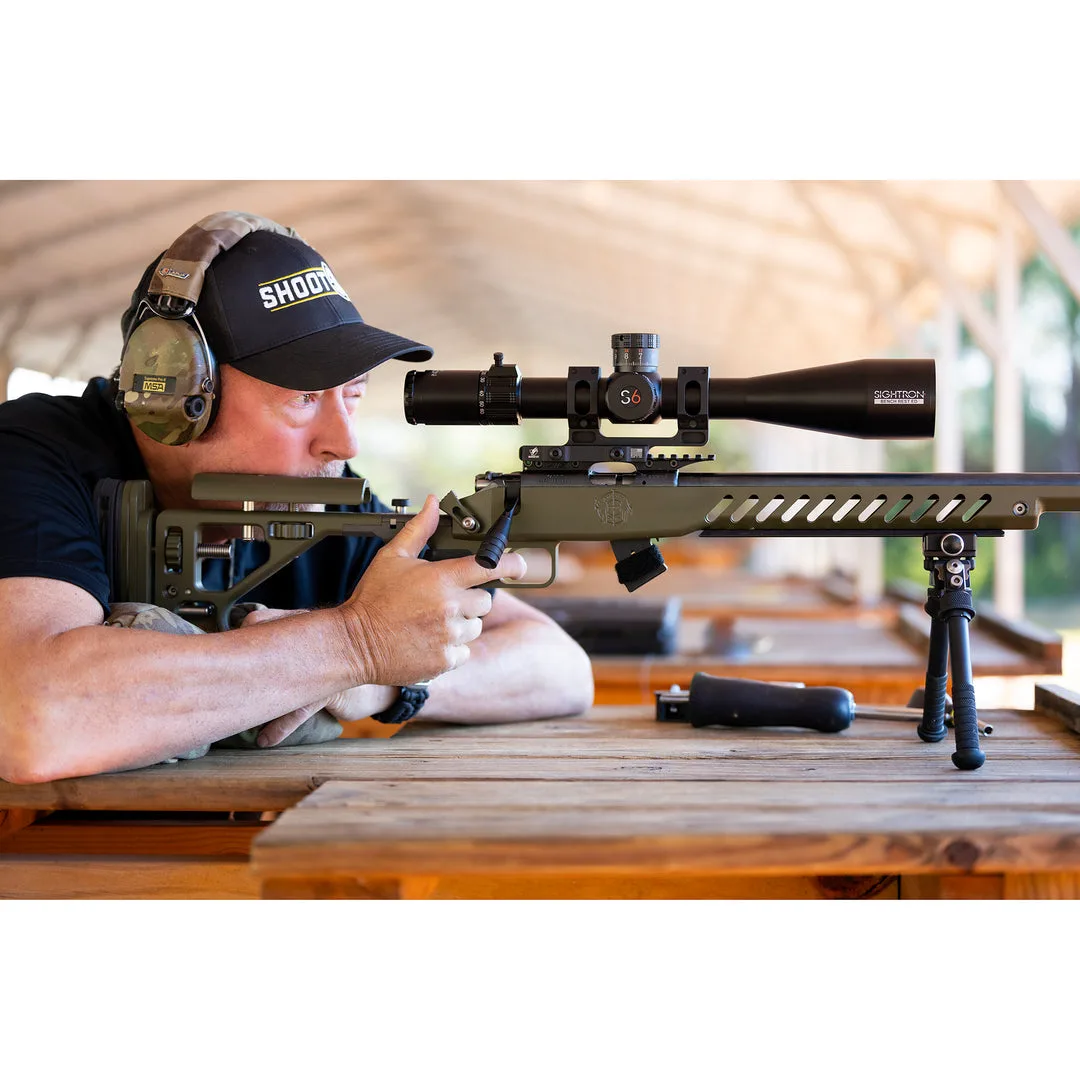
Image source: Web (Bing) / sightron.com (Web image (fair-use with source credit))
Frequently Asked Questions
Is bore sighting the same as zeroing a rifle scope?
No, they're different things. Bore sighting aligns your reticle with your bore at a distance. Zeroing means your point of impact matches your point of aim with a specific ammunition at a specific range.
Bore sighting gets you close. Live fire confirms the zero.
Can a laser bore sighter replace live-fire zeroing?
Not fully. Laser bore sighters typically get your reticle within 1 to 3 MOA of the intended zero at 100 yards. That's good enough to start, but it doesn't account for ammunition variation, mount consistency, or parallax.
You still need live-fire confirmation.
What distance should I bore sight at?
Bore sight at the distance you plan to shoot from, if possible. For most hunters and target shooters, 25 to 50 yards works as a practical starting distance. Align your reticle at that range, then verify with live fire at your actual zero distance.
Do I need special tools to bore sight a rifle?
Manual bore sighting requires nothing but your eyes and a target. Laser bore sighters and optical bore collimators are optional upgrades. A torque wrench is recommended for mounting rings.
Budget around $20 to $40 for a quality laser bore sighter, or $40 to $120 for a collimator.
How long does bore sighting take?
Manual bore sighting typically takes 30 to 45 minutes for a first-time setup. Laser bore sighting with a well-mounted scope usually takes 20 to 30 minutes. Either way, you're saving time compared to going to the range cold and burning through rounds to get on paper.
What's the cheapest way to zero a rifle without shooting?
Manual bore sighting through the barrel is free and requires no equipment. If you want slightly better results, co-witnessing AR-15 iron sights to align your reticle also costs nothing beyond the iron sights themselves. Both methods get you on paper, not a true zero.