Why is my rifle scope blurry? The answer usually isn't what you think. Most shooters blame the glass when the real problem is something they can fix in under 60 seconds.
Manufacturers like Vortex and Leupold build quality optics that stay crisp across magnification ranges, but only if the shooter adjusts them correctly. Per manufacturer specifications, scopes like the Vortex Viper PST Gen II handle parallax from 20 yards to infinity, yet most blur complaints trace back to simple setup errors. Here's what to check first.
Quick Answer
Why is my rifle scope blurry? The most common causes are a misadjusted diopter ring, a dirty objective lens, or incorrect eye relief. Parallax set to the wrong distance is another frequent culprit.
Internal fogging from failed nitrogen seals can also cause persistent blur. Start by checking diopter, lens cleanliness, and eye relief before replacing the scope.
Image source: Web (Bing) / winchesterguns.com (Web image (fair-use with source credit))
The Most Common Reasons Your Scope Looks Blurry (Quick Diagnostic Map)
Before you spend money on a new optic, figure out what type of blur you're dealing with. Not all scope blur is the same thing. The pattern tells you where to start.
Blur in the center of the image. If the middle of your sight picture is soft but the edges look okay, the diopter adjustment is almost always the issue. The diopter ring on the eyepiece focuses the reticle to your eye, not the target.
Blur at the edges but sharp center. This points to parallax misalignment. When your parallax knob is set to a different distance than the target, the image shifts and distorts at the periphery.
Blur everywhere at high magnification. If your scope looks fine at 4x but gets fuzzy at 12x or higher, the exit pupil is shrinking. Exit pupil is the diameter of the light beam leaving the eyepiece. At high magnification, that beam gets narrower and your eye has to find a smaller sweet spot.
Blur everywhere regardless of magnification. This is the worst case. It usually means internal fogging from a failed nitrogen seal, physical damage to the glass, or a mounting issue crushing the tube.
Here's a quick reference table to narrow it down:
| Where You See Blur | Most Likely Cause | Quick Fix |
|---|---|---|
| Center of image | Diopter misadjustment | Turn diopter ring until reticle is sharp |
| Edges only | Parallax misalignment | Set parallax knob to target distance |
| High magnification only | Exit pupil too small | Drop magnification or improve eye alignment |
| Everywhere, all magnifications | Internal fog, damage, or mounting issue | Check lens, inspect mount, seek gunsmith |
Start at the top of the table and work down. Fix one variable at a time. That way you'll know exactly what resolved the problem.
First, Check These Three Things Before You Blame the Scope
Ninety percent of blur complaints are setup issues. Go through these three checks before you consider the optic defective. They take a few minutes each and cost nothing.
Diopter Adjustment: The #1 Overlooked Cause
The diopter ring sits on the back of the scope, right behind where your eye goes. It adjusts focus for the reticle image inside the optic. Every shooter needs a different diopter setting because every eye is different.
If you have astigmatism or slight vision impairment, this matters even more. Most scopes offer diopter adjustment in the range of minus 3 to plus 3 diopters.
Here's how to set it correctly:
- Take the rifle off the bench. Hold it at arm's length against a plain background.
- Close one eye. With your other eye, look at the reticle.
- Turn the diopter ring slowly in both directions.
- Stop when the reticle looks sharpest, with crisp edges. It should be perfectly crisp, not slightly soft.
- Gently tighten the diopter ring so it doesn't drift.
One important tip: set the diopter BEFORE you adjust anything else. If your diopter is wrong, everything you adjust after that will be based on a bad starting point.
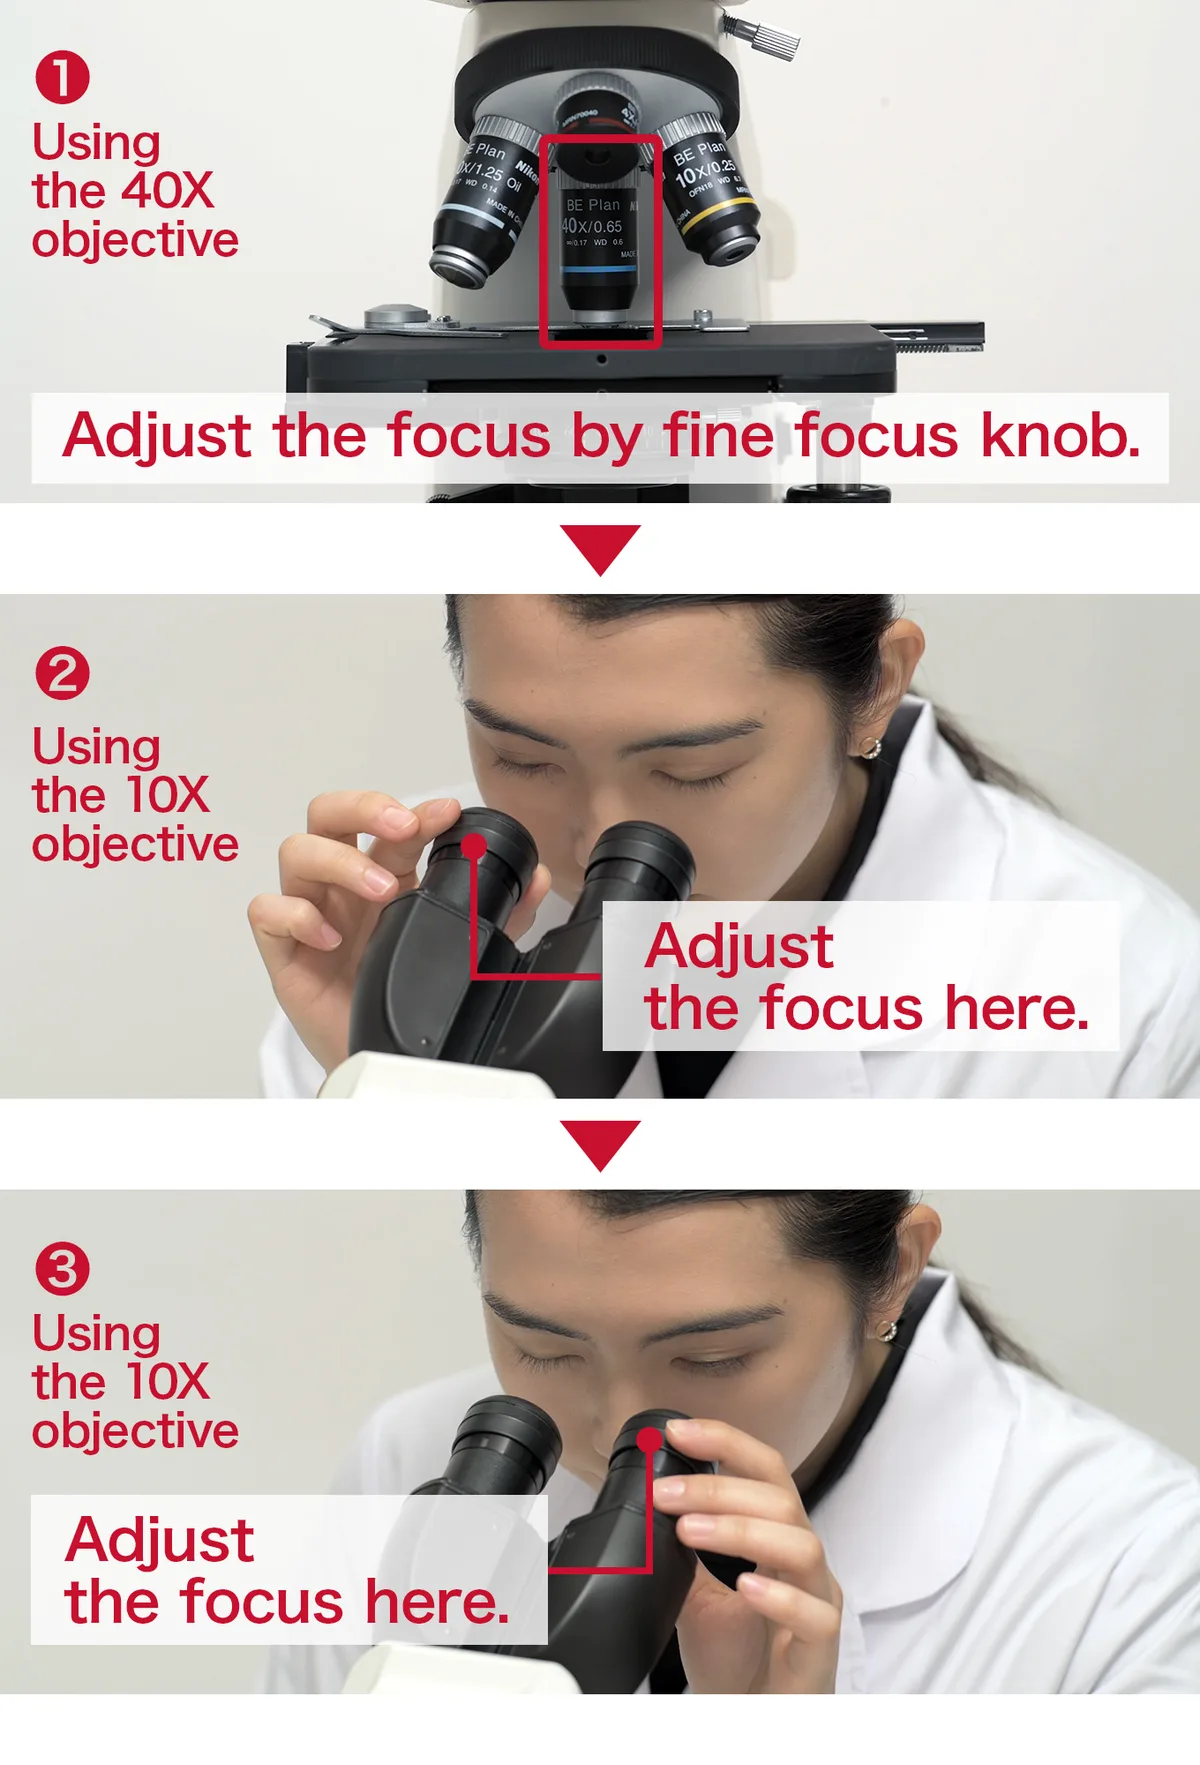
Image source: Web (Bing) / microscope.healthcare.nikon.com (Web image (fair-use with source credit))
Dirty or Smeared Objective Lens
The objective lens is the big glass at the front of the scope. It collects dirt, oil, fingerprints, and dust fast, especially on hunting trips or in dusty range conditions. A film of oil on that lens will scatter light and soften your image noticeably.
Clean it properly:
- Use a dedicated lens cleaning solution and a microfiber lens cloth.
- Never use paper towels, shirt fabric, or breath to clean scope glass. They scratch or leave residue.
- Start with a soft brush to knock off grit before wiping.
- Wipe gently in a circular motion from the center outward.
- Check the ocular lens too, which is the smaller glass at the eyepiece end.
If you've never cleaned your scope lens, you'll notice how much brighter the image becomes after one proper cleaning session.
Eye Relief and Cheek Weld
Eye relief is the distance between your eye and the scope's ocular lens. Most rifle scopes are designed for 3.5 to 4.5 inches of eye relief. Heavy-recoil calibers like .300 Win Mag benefit from the longer end of that range.
If your eye is too close, you'll see a black ring around the image and risk scope bite on heavy recoil. If your eye is too far, the field of view collapses and the image looks small and dim.
Your cheek weld determines whether eye relief stays consistent. If your rifle stock doesn't put your eye at the right distance behind the scope, consider an adjustable cheek riser. Inexpensive risers run $20 to $50 and fix a misalignment that no amount of scope adjustment will solve.
If It's Blurry at the Edges but Sharp in the Center
A sharp center with soft edges is the classic signature of parallax. Parallax is the shift you see in the reticle image when your eye moves off-center in the scope. At the correct parallax setting, moving your eye around doesn't change where the reticle points.
When it's off, you'll see the reticle shift, and the edges go soft.
Parallax Misalignment
Most variable-power scopes with side focus knobs adjust parallax from around 10 yards on rimfire models to 100 yards or infinity on centerfire models. The Vortex Optics technical documentation covers this directly in their rifle scope setup guides.
To fix parallax:
- Determine your target distance accurately.
- Turn the side focus knob to match that distance.
- Check the reticle for crispness while making small head movements.
- If the reticle shifts when you move your eye, keep adjusting.
A good test: rest the rifle on a stable support, look through the scope, and shift your head slightly left, right, up, then down while watching the reticle. If the reticle stays planted on your target, parallax is set correctly.
Budget scopes sometimes skip parallax adjustment entirely. SFP (second focal plane) scopes in the $100 to $150 range often have fixed parallax set at 100 yards. If you're shooting at 300 yards with a fixed-parallax budget scope, some edge blur is expected.
It's a design limitation, not a defect.
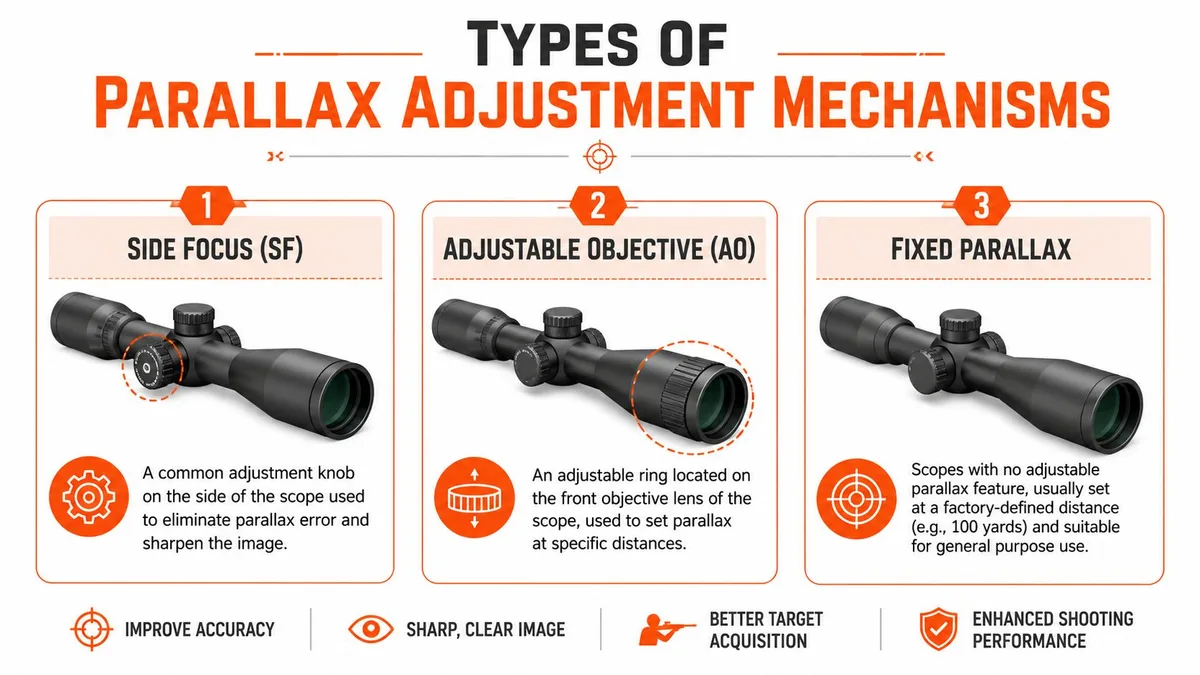
Image source: Bing (Web (fair-use with source credit))
Field of Curvature and Budget Glass Limits
All rifle scopes have some inherent optical imperfection at the edges. This is called field of curvature, and it means the image plane is slightly curved rather than perfectly flat. High-end scopes with premium Japanese glass minimize it.
Budget scopes may not.
As of 2026, mid-range scopes from Athlon and Primary Arms have gotten noticeably better at edge clarity compared to options from just five years ago. But if your budget optic shows edge blur at full magnification and your parallax is set correctly, the optic is simply near its optical limit. That's the honest answer.
The fix: reduce magnification to 6x or 8x, where the exit pupil is wider and the optical imperfections are less visible.
If It's Blurry at High Magnification But Fine at Low Power
This is extremely common and usually not a defect. It's physics.
Exit Pupil and Low-Light Clarity
Exit pupil is the diameter of the light beam leaving the scope's eyepiece. It's calculated by dividing objective lens diameter by magnification. A 50mm objective at 5x gives you a 10mm exit pupil.
At 25x, it shrinks to 2mm.
Your eye's pupil can open to about 7mm in full darkness. In daylight, it's closer to 3 to 4mm. When the scope's exit pupil is smaller than your eye's pupil, the image gets dimmer and softer.
Your eye is now doing work the scope should be doing.
The math here is simple:
| Objective Size | At 5x (exit pupil) | At 10x | At 20x | At 25x |
|---|---|---|---|---|
| 32mm | 6.4mm | 3.2mm | 1.6mm | 1.3mm |
| 40mm | 8.0mm | 4.0mm | 2.0mm | 1.6mm |
| 50mm | 10.0mm | 5.0mm | 2.5mm | 2.0mm |
| 56mm | 11.2mm | 5.6mm | 2.8mm | 2.2mm |
If your scope has a 40mm objective and you're at 20x, your exit pupil is only 2mm. That's well below what your eye needs. The image will look dark and mushy.
Drop to 10x, and the exit pupil doubles to 4mm. Crispness returns instantly.
Practical rule: if the image starts to feel dim and soft at high magnification, back off to the magnification where it felt crisp. Most shooters never need full magnification on a variable-power optic.
Mirage and Heat Distortion
Mirage is when heat rising from hot ground distorts what you see through the scope, especially past 300 yards. You'll see a wavy, shimmering effect rather than true blur. It's worst on sunny days over dark surfaces like black asphalt or dark dirt.
Mirage isn't a scope problem. You can't fix it with lens cleaning or parallax adjustment. Reduce magnification, wait for a cooler time of day, or shoot when the shimmer settles.
Experienced long-range shooters learn to read the mirage itself as a wind indicator.
If It's Blurry Everywhere, Even at Low Magnification
This is the scenario where you should start considering the scope itself. When the image is soft across all magnification levels, something structural is wrong.
Internal Fogging and Failed Nitrogen Seal
Most modern rifle scopes are nitrogen or argon purged and sealed. The gas inside prevents internal condensation when temperatures swing. If your scope has a failed seal, moisture creeps in.
When you go from a warm truck to cold outdoor air, the internal surfaces fog up and your image turns milky.
Manufacturer specifications indicate that nitrogen purging lasts the life of the scope under normal conditions. But scopes take knocks, sit in extreme temperature swings, or get exposed to water. Seals can fail.
If you suspect internal fogging, look for fog or moisture on the INSIDE of the lens surfaces. External fog you can wipe off. Internal fog you cannot.
Recoil Damage and Mounting Errors
A scope that's taken a bad impact or was mounted with excessive ring pressure can have shifted internal elements. If the rifle was dropped or the scope was overtightened, the optical tube can deform slightly. This shows up as persistent blur no matter what you adjust.
Check for:
- Ring torque that feels excessive. Many manufacturers recommend 15 to 25 inch-pounds depending on the model.
- Scope tube damage or marks from ring screws.
- Any sudden shift in point of impact after a drop.
When the Scope Itself Is Failing
Some budget scopes simply don't hold up. Aggregate user reviews report that scopes under $100 frequently show optical degradation within the first year of regular use. Chromatic aberration, which shows up as color fringing around high-contrast edges, also worsens over time on lower-grade glass.
If you've gone through every troubleshooting step and the scope is still blurry everywhere, it's likely time to replace it. The good news: mid-range optics in the $300 to $500 bracket as of 2026 offer dramatically better optical clarity than they did even three years ago. Brands like Athlon, Primary Arms, and Burris have pushed performance down in price significantly.