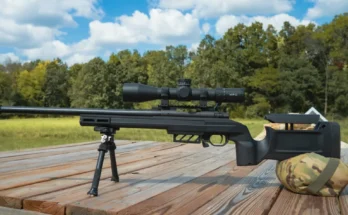
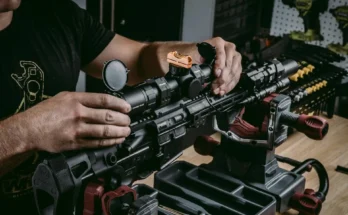
Boresighting a rifle scope ensures your scope and rifle are lined up before you ever pull the trigger. If you're asking how do I boresight a rifle scope, you're thinking like a shooter who values their time and ammo. This guide covers every method, every step, and every mistake to avoid.
Standard testing data indicates that a proper boresight saves 3 to 5+ rounds of ammunition per session. As of 2026, most range instructors still consider it a mandatory first step after mounting a new scope. Let's walk through it.
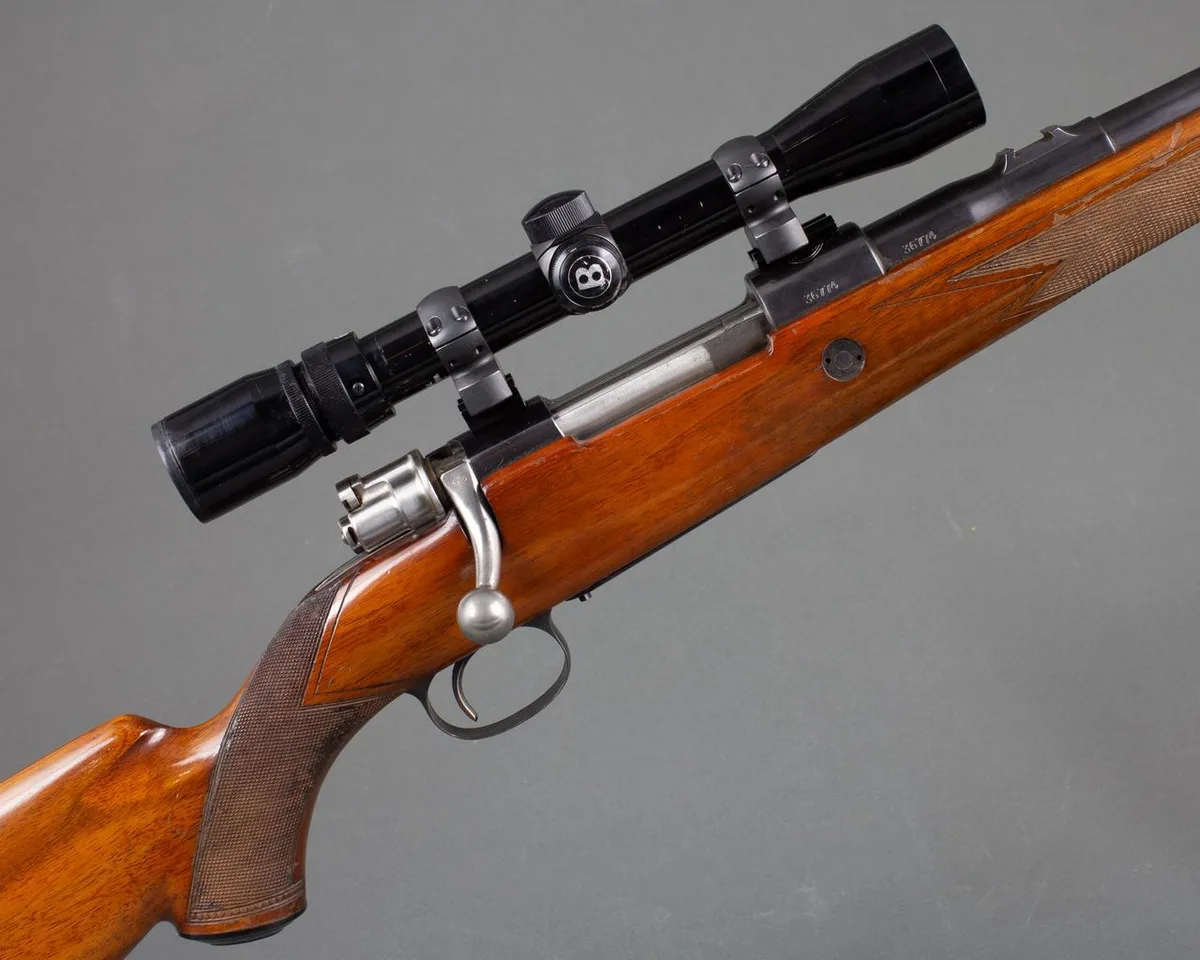
Image source: Bing (Web (fair-use with source credit))
Quick Answer
To boresight a rifle scope, remove the bolt and look through the barrel. Adjust the scope until the reticle matches the bore view. You can do this visually, with a laser boresighter, or an optical collimator.
Then fine-tune your zero at the range.
Before You Boresight: Why This Step Saves You Ammo and Frustration
Most new scope owners mount their rifle and drive straight to the range. They fire a shot, miss completely, then burn through expensive ammo chasing their point of impact. Boresighting eliminates that problem before it starts.
The process is straightforward. You verify that the scope's reticle roughly lines up with where the bore points. Then you head to the range already close.
Your first shot lands on or near the target. Not perfect, but close enough to adjust from.
What does this get you?
- Faster zeroing. You are adjusting from a good starting point, not searching blindly.
- Saved ammo. Expect to save 3 to 5+ rounds per session.
- Early error detection. If your rings are wrong or your base is loose, you will catch it here.
- Confidence before season. You will not be second-guessing your setup in the field.
Boresighting is not zeroing. Boresighting gets you "on paper." Zeroing gets you truly zeroed. The difference matters, and we will cover it in detail below.
The Right Method Depends on Your Situation — Here's How to Choose
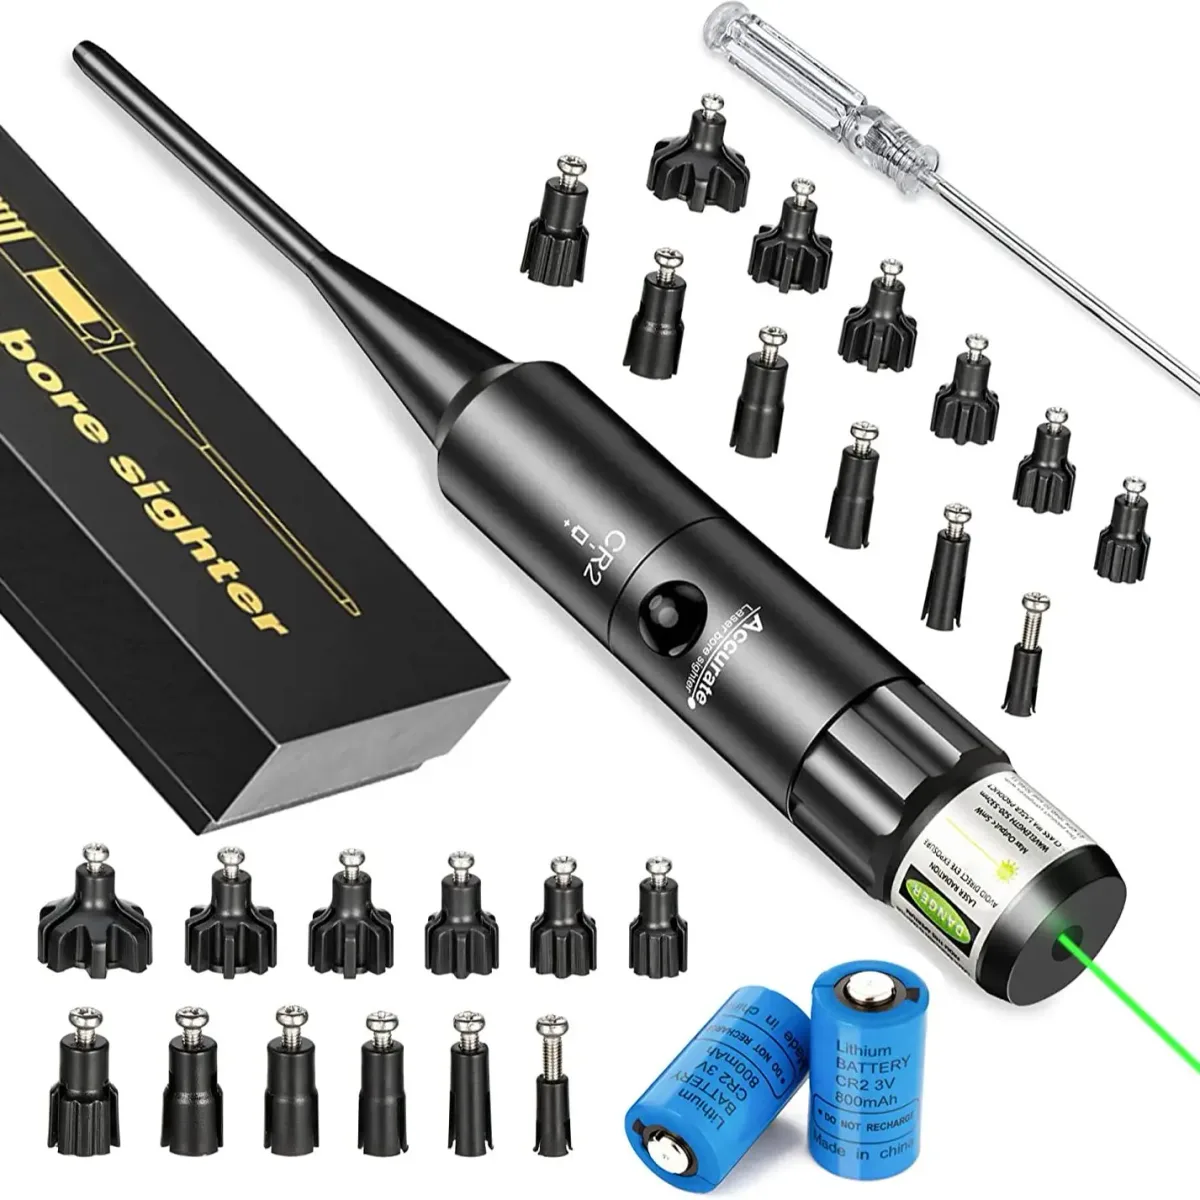
Image source: Web (Bing) / aliexpress.com (Web image (fair-use with source credit))
There is no single "best" boresighting method. The right choice depends on your tools, your location, and how precise you need to be. Here is a quick comparison.
| Method | Typical Accuracy | Cost | Best For |
|---|---|---|---|
| Visual bore sight | Rough (3 to 5+ MOA) | Free | Quick home check |
| Laser boresighter | Moderate (1 to 3+ MOA) | $25 to $80 | Most shooters |
| Optical bore collimator | Precise (1 to 2+ MOA) | $30 to $150+ | Precision builds |
Method 1: Visual Bore Sighting (Through the Barrel)
Remove the bolt or open the action. Look through the barrel at a distant object. Then look through the scope.
Adjust the scope turrets until the reticle center matches what you see through the bore.
No tools needed. Takes about five minutes. The accuracy is rough, but you only need to be close enough to be on paper at the range.
Method 2: Laser Boresighter
A laser boresighter sits in your chamber or muzzle and projects a dot downrange. You adjust the scope until the reticle covers that dot. It works in any lighting, indoors or out.
As of 2026, most laser boresighters run $25 to $80 and use interchangeable inserts for different calibers. The dot gives you a clear, consistent point to aim at. For most shooters, this is the sweet spot.
Method 3: Optical Bore Collimator or Bore Mirror
A bore collimator sits in the chamber and lets you view an internal reference through the scope. A bore mirror reflects the bore image into your scope. Both give you the tightest mechanical alignment of the three methods.
This is the tool of choice for precision rifle builds. Every MOA matters, and this method gets you the closest to true alignment before you ever fire a round.
Setting Up: The Step-by-Step Process for Any Method
Once you pick your method, the process follows the same general flow regardless of tool. Here is how it works from start to finish.
Getting the Rifle Ready
Confirm the firearm is unloaded. Always. Remove the bolt or open the action and inspect the chamber visually.
Then secure the rifle in a vise or solid rest. You need it stable while you work.
The National Rifle Association's firearms training principles apply here: treat every firearm as loaded, point the muzzle in a safe direction, and keep your finger off the trigger. Boresighting involves handling, and safety comes first.
Aligning the Bore with the Scope Reticle
Set your scope magnification to low or mid power. High magnification makes it harder to see the bore image and scope reticle at the same time.
Look through the barrel and through the scope at a target at least 50 to 100 yards away. Adjust the scope turrets until the reticle center sits right on top of the bore image. Go slow.
Small clicks, not big sweeps.
Adjusting Windage and Elevation
Most scopes use either MOA (minute of angle) or MRAD (milliradian) turret adjustments. A 1/4 MOA click moves your point of impact about 0.25 inch at 100 yards. A 0.1 MRAD click moves it about 0.36 inch.
If you are adjusting away from the bore image, use small clicks and recheck often. Overcorrecting is the most common mistake at this stage.
Verifying Scope Mounts and Ring Torque
Before you trust your boresight, double-check your mounting hardware. Loose rings or a shifting base will undo everything you just set up.
Manufacturer specifications from Leupold and similar optic manufacturers indicate scope ring torque typically falls between 15 and 25 inch-pounds. Use a torque wrench. Snugging screws by feel is not enough.
At the Range: From "On Paper" to Truly Zeroed
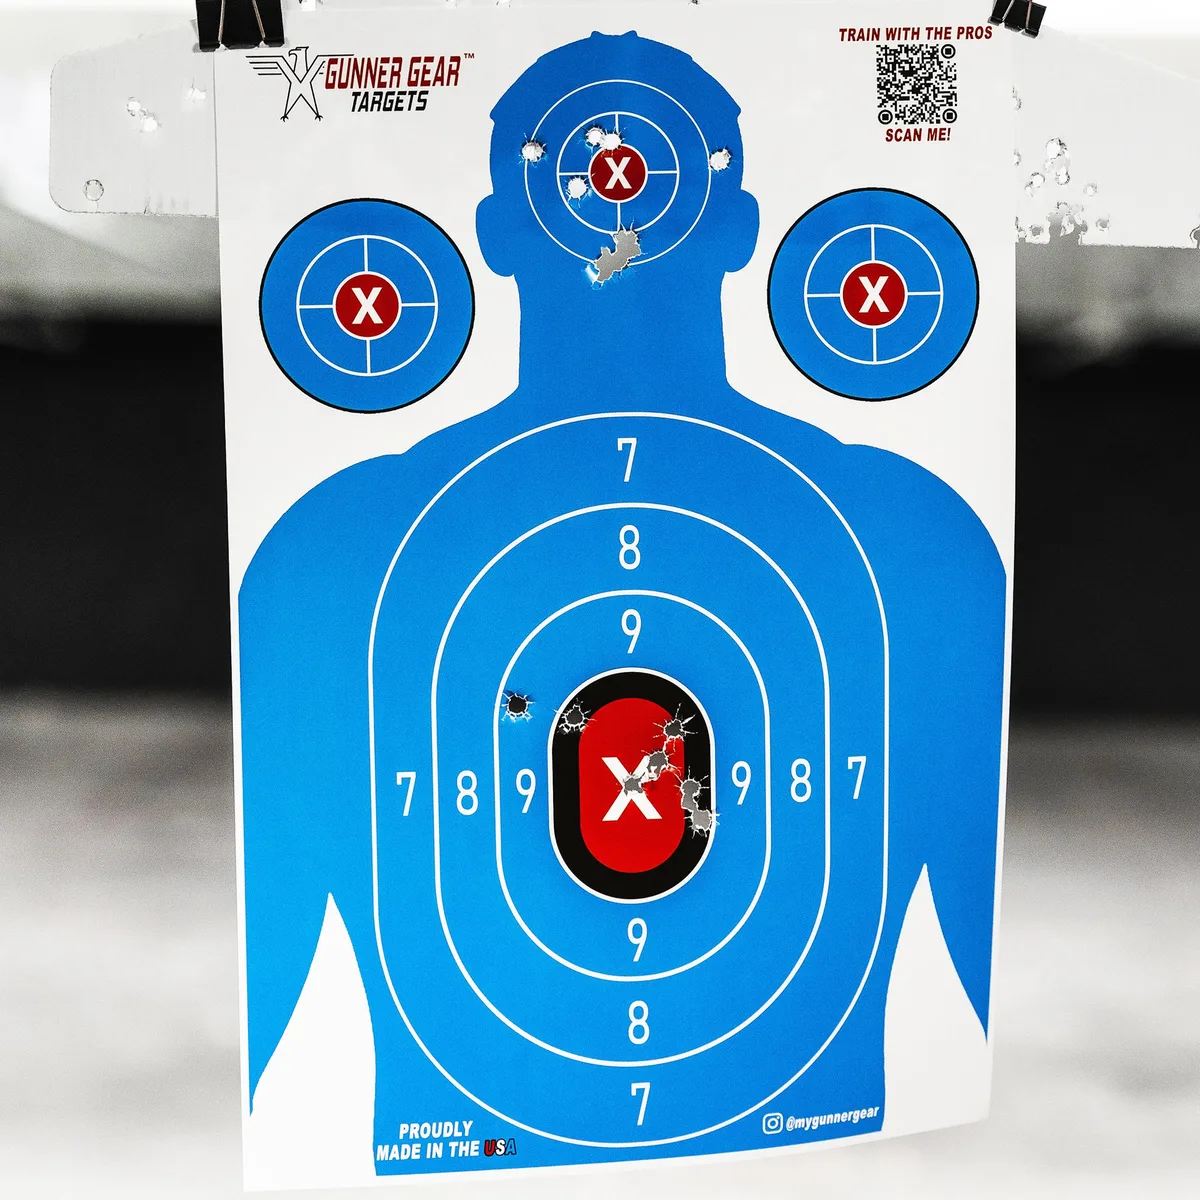
Image source: Web (Bing) / infinitysa.gr (Web image (fair-use with source credit))
Boresighting gets you "on paper." It does not get you zeroed. The range is where you close the gap.
Here is the standard workflow:
- Set up at 100 yards (or your preferred zero distance).
- Fire a three-shot group at the bullseye.
- Measure where your group landed relative to center.
- Adjust the scope turrets toward the point of impact.
- Fire another three-shot group to confirm.
- Repeat until your group centers where you want it.
If your group lands 2 inches low and 1 inch right, adjust up and left accordingly. With a 1/4 MOA scope at 100 yards, that means eight clicks up and four clicks left. Simple math, but it works every time.
After your final group, record your settings. Note the click count for your specific ammo and load. This baseline helps you verify your zero later or after swapping ammo.
If your scope has a parallax adjustment, set it to your target distance now. Parallax at the wrong distance can shift your point of impact slightly, especially at longer ranges.
Common Mistakes That Ruin Your Boresighting Session
Most boresighting problems come down to a handful of avoidable errors. Here are the ones we see the most.
- Using the wrong boresighter insert. A laser boresighter sized for .308 will not sit correctly in a .223 chamber. Bad fit means a bad laser point. Match the insert to your caliber.
- Boresighting at too short a distance. If your target is only 10 yards away, the bore and scope view will not line up correctly. Use at least 50 to 100 yards.
- Forgetting to set magnification. High magnification makes it hard to see the bore image and reticle at the same time. Start at low power.
- Treating "on paper" as zeroed. Boresighting is the starting line. The range session is where you actually zero. Do not skip it.
- Ignoring parallax during the range session. If you forget to set parallax to your target distance, your point of impact can shift noticeably at longer ranges. Check it every time.
- Failing to remove the boresighter before loading. This sounds obvious. It still catches people. A boresighter left in the chamber causes a catastrophic malfunction when you chamber a round.
Each of these mistakes is easy to catch if you know what to look for. Most experienced shooters have made several of them at least once.
Expert Tips and Safety Rules You Shouldn't Skip
Beyond the core boresighting workflow, a few expert-level habits separate a solid setup from a sloppy one. These apply regardless of which method you chose.
- Use a torque wrench on ring and base screws. Manufacturers like Nightforce and Vortex publish specific inch-pound values for their rings and bases. Follow them. Under-torqued rings shift under recoil. Over-torqued rings crush the scope tube.
- Check your scope base before anything else. A Picatinny or Weaver rail that is not seated fully will throw off your entire zero, no matter how carefully you boresight.
- Verify eye relief before adjusting turrets. If your eye is not at the correct distance from the ocular lens, the reticle will look distorted or off-center. Adjust the scope forward or backward in the rings first.
- Re-check your zero after the first range session. Rings and bases can settle slightly after the first few rounds. A quick 100-yard verification confirms everything is holding.
As of 2026, range safety protocols at most public facilities prohibit firing with a boresighter still inserted. Always visually inspect the chamber before you load.
Frequently Asked Questions
What is the difference between boresighting and zeroing?
Boresighting aligns your scope reticle with your rifle's bore so your first shot lands on or near the target. Zeroing is the range process of firing groups and adjusting until your point of impact matches your point of aim. Boresighting gets you on paper.
Zeroing gets you dialed in.
How long does boresighting take at home?
A visual bore sight takes about five minutes. A laser boresighter session runs ten to fifteen minutes including setup. An optical collimator method may take twenty minutes if you are being precise.
The range zeroing session afterward typically takes twenty to thirty minutes.
Can I boresight a rifle scope without any special tools?
Yes. Remove the bolt or open the action. Look through the barrel at a distant object.
Adjust the scope turrets until the reticle lines up with that object. It is the fastest method, though the least precise. For most shooters it is enough to get on paper at 100 yards.
How accurate is a laser boresighter?
Laser boresighters typically get you within 1 to 3 MOA of true alignment. That translates to a few inches of error at 100 yards. For hunting and general shooting, that is plenty close.
Precision rifle shooters should follow up with an optical collimator or bore mirror method.
Do I still need to zero my rifle after boresighting?
Always. Boresighting gets your reticle roughly on target, but real accuracy comes from firing groups and adjusting turrets at the range. Ammunition variations, barrel harmonics, and environmental factors all shift your point of impact.
Boresighting is the starting point, not the finish line.
What torque should I use on scope rings?
Most scope ring manufacturers specify 15 to 25 inch-pounds for ring screws. Picatinny base screws often fall between 20 and 65 inch-pounds depending on the platform. Always check the specific values from your optic and mount manufacturer before tightening anything.
Final Decision Guide: Which Method and Workflow Fits You
The right approach depends on your equipment, your location, and how much precision you need before you head to the range. Here is a quick decision guide.
| Your Situation | Recommended Method | Time Investment |
|---|---|---|
| First-time scope owner, no special tools | Visual bore sight | 5 minutes |
| Regular hunter wanting a reliable zero | Laser boresighter | 10 to 15 minutes |
| Precision rifle or long-range build | Optical bore collimator or bore mirror | 15 to 25 minutes |
| Limited range access, want to minimize trips | Laser boresighter + quick visual check | 15 minutes |
| Gunsmith setting up customer rifles | Collimator or laser, depending on caliber | 10 to 20 minutes |
If you are new to boresighting, start with a visual bore sight. It costs nothing and teaches you the mechanics of how bore and reticle relate to each other. Once that clicks, move to a laser boresighter for more consistency.
If you hunt regularly, a laser boresighter is your best tool. You can confirm your setup at home before season without burning gas or range fees. Verify your zero at the range once, then re-check with the boresighter each time you change ammo or swap a scope.
If you shoot precision, use an optical bore collimator. The tighter mechanical alignment reduces the number of adjustment rounds you fire at the range. It is not about skipping the range session.
It is about arriving ready to confirm instead of search.
Whichever method you choose, follow the same core workflow: unload, secure the rifle, align bore to reticle, check your mounts, and then verify at the range. Skip any step, and you will pay for it later with wasted ammo and a rifle you cannot trust.