Are you tired of digging through cluttered boxes every time you need ammo? Imagine having a simple, sturdy organizer that keeps all your rounds perfectly sorted and easy to find.
With a DIY ammo organizer using dividers, you can create exactly that—customized to fit your needs and your space. This guide will show you how to build one quickly and affordably, so your ammo stays neat, accessible, and ready when you are.
Ready to take control of your gear? Let’s get started!

Benefits Of A Diy Ammo Organizer
Building your own ammo organizer with dividers has clear advantages. It offers practical benefits that store-bought options may not provide. Crafting a custom organizer suits your exact needs. It also saves money and improves ammo handling safety. Here are some key benefits of making your own ammo organizer.
Cost Savings Compared To Store-bought
DIY ammo organizers cost less than ready-made ones. You can use affordable materials or repurpose items. No need to pay extra for brand names or shipping. This project helps you save money without losing quality. Small budget? DIY fits well with limited funds.
Customization For Specific Ammo Types
Every shooter uses different ammo sizes and amounts. A DIY organizer lets you create perfect compartments for each type. Customize divider sizes and layout to fit your collection. No more mixing different calibers or wasting space. Tailored storage keeps ammo neat and ready.
Improved Accessibility And Safety
Organized ammo is easier to find and handle quickly. Dividers prevent rounds from rolling or mixing together. This reduces mistakes and speeds up reloads. Proper storage also protects ammo from damage and moisture. A DIY organizer helps keep your shooting safe and efficient.
Materials Needed For Ammo Organizer
Creating a DIY ammo organizer with dividers requires the right materials. Choosing good materials helps keep your ammo safe and easy to find. You need a sturdy box or container, dividers to separate ammo types, and tools to build and customize the organizer. Each material plays an important role in the project’s success. Use durable and easy-to-work-with items for the best results.
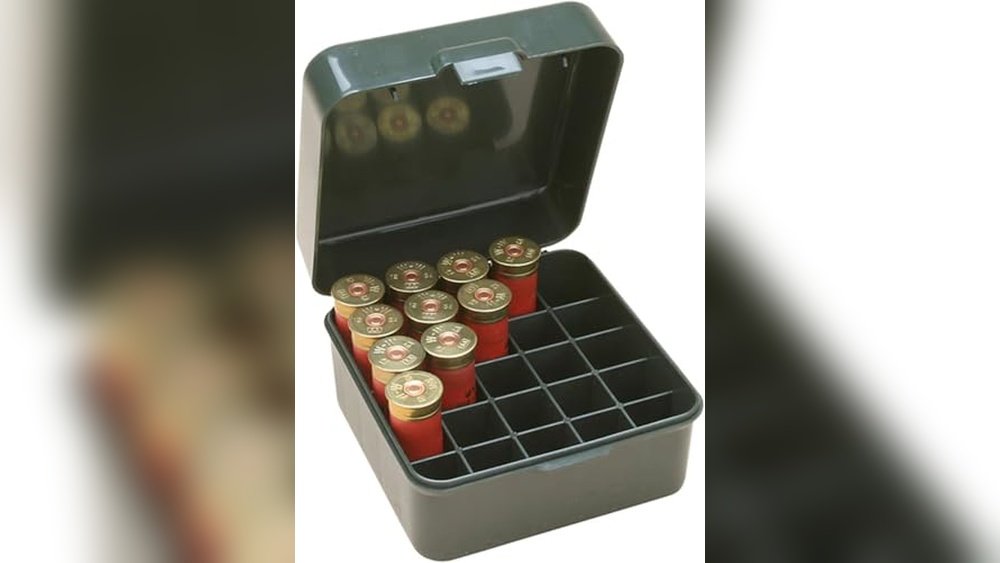
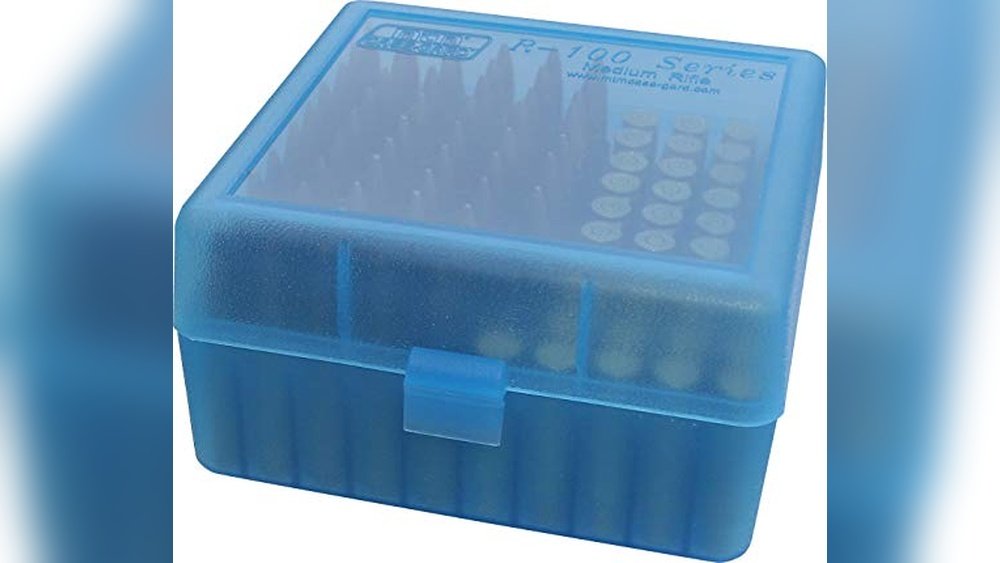
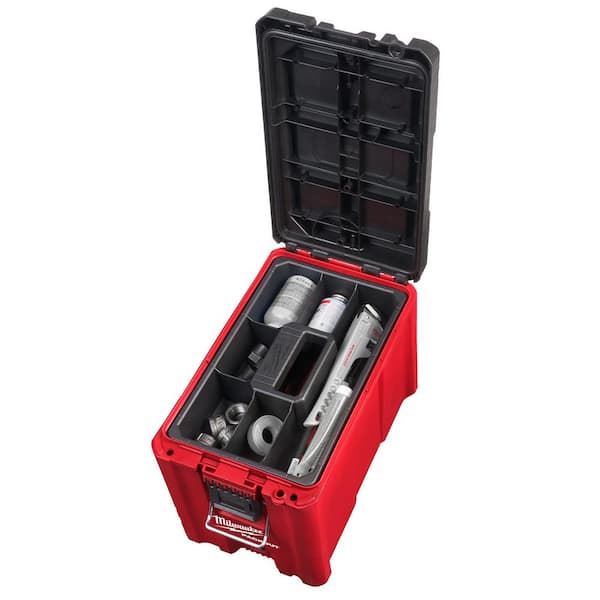
Choosing The Right Box Or Container
Select a box that fits your ammo size and amount. Plastic containers with snap lids work well. Metal ammo boxes offer strong protection. Look for containers that are waterproof and impact-resistant. The box should be easy to carry and store. Clear containers help you see ammo without opening the box.
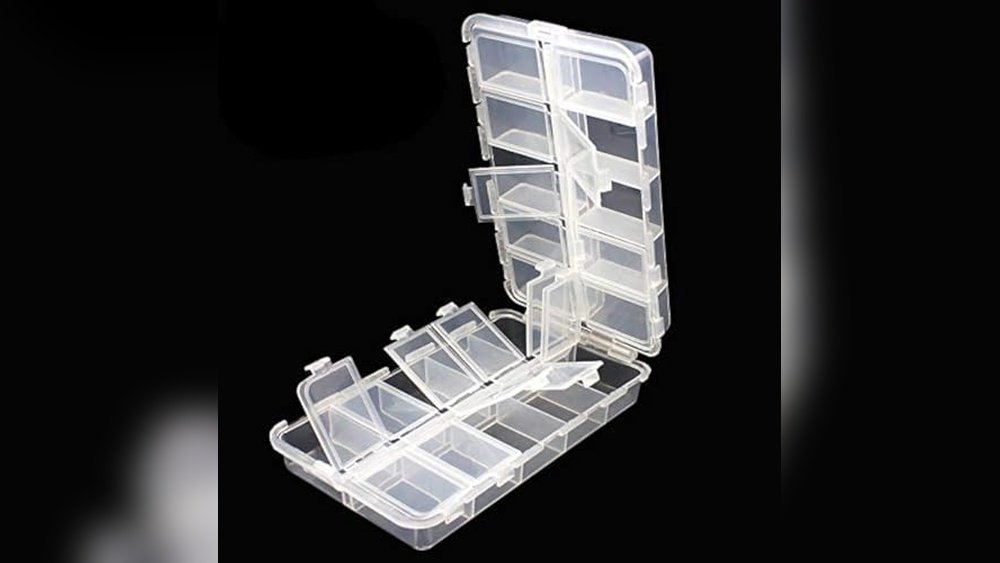
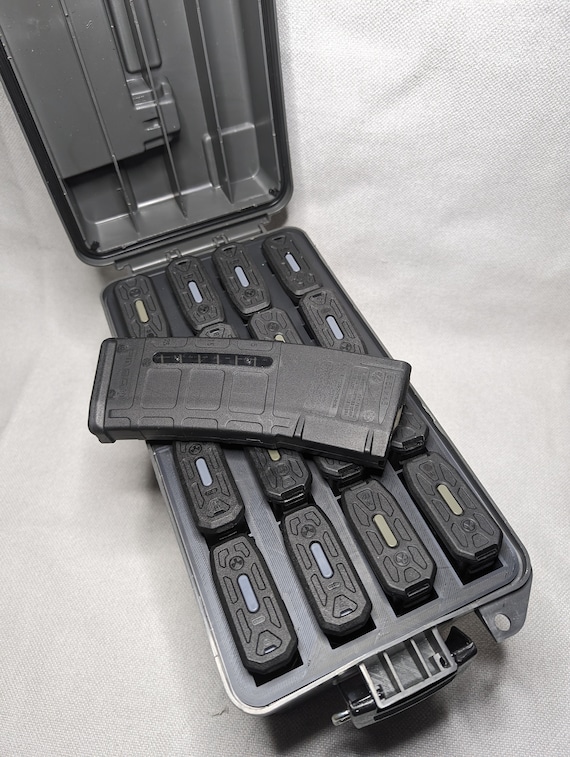
Types Of Dividers To Use
Dividers keep ammo types separate and organized. Foam inserts cushion and protect rounds. Plastic or wooden strips can be cut to size. Adjustable dividers let you change compartment size. Use thick cardboard for a low-cost option. Choose dividers that fit snugly inside your box.
Tools Required For Assembly
You need basic tools to assemble your ammo organizer. A utility knife or box cutter helps cut dividers. A ruler or measuring tape ensures accurate sizing. Hot glue or strong tape can hold dividers in place. Sandpaper smooths rough edges on wooden dividers. A pencil marks cutting lines for neat work.
Measuring And Planning Your Organizer
Planning your DIY ammo organizer carefully saves time and space. Measuring each part ensures everything fits well. A good plan keeps your ammo neat and easy to find. Start with a clear idea of your ammo types and how much you have. This helps create a useful and tidy storage solution.
Determining Ammo Sizes And Quantities
Measure the length and width of each ammo type. Write down how many rounds you need to store. Different ammo sizes require different spaces. Group similar sizes together to make measuring easier. Knowing exact quantities helps avoid wasted space in your organizer.
Layout Ideas For Efficient Storage
Think about how you want to arrange your ammo. Use rows or columns to keep it organized. Consider a layout that makes it easy to grab ammo quickly. Leave some extra room for future ammo purchases. A clean layout reduces clutter and speeds up your reload time.
Marking Divider Positions
Use a pencil to mark where each divider will go. Measure carefully to ensure equal spacing between sections. Mark both length and width to fit all ammo types. Clear marks help you cut dividers correctly. Well-placed dividers keep ammo separated and protected.
Step-by-step Assembly Process
Building a DIY ammo organizer with dividers is simple and rewarding. The assembly process breaks down into clear, easy steps. Follow these steps to create a neat and practical storage solution. Each step ensures your organizer is sturdy and efficient.
Cutting And Preparing Dividers
Start by measuring the size of your ammo box. Cut wood or plastic pieces to fit inside perfectly. Make sure the edges are smooth to avoid damage. Sand the dividers lightly for a clean finish. Prepare all dividers before moving to the next step.
Installing Dividers Securely
Place the dividers inside the box according to your layout plan. Use strong glue or screws to fix each divider firmly. Check that each divider stands straight and holds in place. Let glue dry fully if used for the best strength. Secure dividers prevent ammo from mixing or shifting.
Labeling Sections For Easy Identification
Label each section clearly using stickers or a marker. Write the ammo type or size for quick finding. Place labels where they are easy to see but won’t wear off. Clear labels save time and keep your ammo organized. Update labels if you change ammo types later.
Tips For Maintaining Your Ammo Organizer
Keeping your DIY ammo organizer in good shape helps you find ammo fast. It also makes sure your rounds stay safe and ready to use. Simple steps keep your organizer clean, labeled, and stored correctly.
Regular Cleaning And Inspection
Check your ammo organizer often for dust and dirt. Wipe it with a dry cloth to keep it clean. Look inside dividers for any signs of rust or damage. Fix small problems early to avoid bigger issues later.
Updating Labels As Inventory Changes
Change labels whenever you add or remove ammo types. Clear labels save time and prevent mistakes. Use waterproof markers or printed tags for easy reading. Keep your system organized by updating it regularly.
Safe Storage Practices
Store your ammo organizer in a cool, dry place. Avoid spots with high heat or moisture. Keep it away from direct sunlight and chemicals. Secure the organizer to prevent accidental spills or damage.
Creative Enhancements And Customizations
Creative enhancements and customizations make your DIY ammo organizer both practical and unique. Small changes can improve its durability and ease of use. They also add a personal touch that reflects your style. These upgrades help protect your ammo, keep it secure, and make the organizer visually appealing.
Adding Foam Inserts For Protection
Foam inserts cushion your ammo inside the organizer. They prevent scratches and damage during transport. Use foam sheets or cut custom shapes to fit each round. This reduces noise and keeps everything in place. Foam also absorbs shock from drops or bumps.
Incorporating Locking Mechanisms
Adding locks secures your ammo from accidental opening. Simple latches or combination locks work well. Choose a locking method that fits your organizer’s size and design. Locks provide peace of mind when storing or carrying ammo. They keep the contents safe from children or unauthorized access.
Decorative Finishes And Personalization
Decorate your organizer to match your personality. Paint it with camouflage patterns or bold colors. Use stickers, decals, or stencils for extra flair. Personalize with your name or favorite logo. A customized finish makes your organizer easy to identify and fun to use.
Frequently Asked Questions
What Materials Do I Need For A Diy Ammo Organizer?
You need wood or plastic boards, dividers, screws, glue, and measuring tools. These materials help create sturdy, customizable compartments for ammo storage.
How Do Dividers Improve Ammo Organization?
Dividers separate different calibers, preventing mix-ups and damage. They keep your ammo neat, easy to find, and safe during transport.
Can I Customize The Size Of Ammo Compartments?
Yes, you can adjust divider spacing to fit various ammo sizes. Custom compartments ensure efficient use of space and better ammo protection.
Is A Diy Ammo Organizer Cost-effective?
Building your own organizer saves money compared to buying pre-made ones. It also allows personalization to suit your specific ammo collection.
Conclusion
Building a DIY ammo organizer with dividers keeps your rounds neat and easy to find. It saves space and helps avoid mix-ups. You can customize it to fit your needs and ammo types. This project is simple and cost-effective. A tidy storage system makes shooting safer and more enjoyable.
Try making one yourself and see the difference it brings. Organizing ammo has never been this straightforward.